
A porch for a residential building can be built from different types of building materials. However, the most reliable and durable option is a concrete porch. True, its installation will be more complex and time-consuming, but it is worth it.
How to pour a concrete porch in 1 day with your own hands
Content
- How to pour a concrete porch in 1 day with your own hands
- Tools and materials
- Selection of the shape and size of a concrete porch
- Formwork drawing
- Preparing to pour the porch
- Collection of formwork
- Creating steps
- Facing
- Photo of finishing a concrete porch in a private house

Many developers who plan to build reinforced concrete steps in front of the entrance to their cottage on their own, but do not Those with construction skills are primarily interested in which building materials and equipment are needed for this task.
Tools and materials
List of required building materials:
- solution, including cement, sand, water and small gravel;
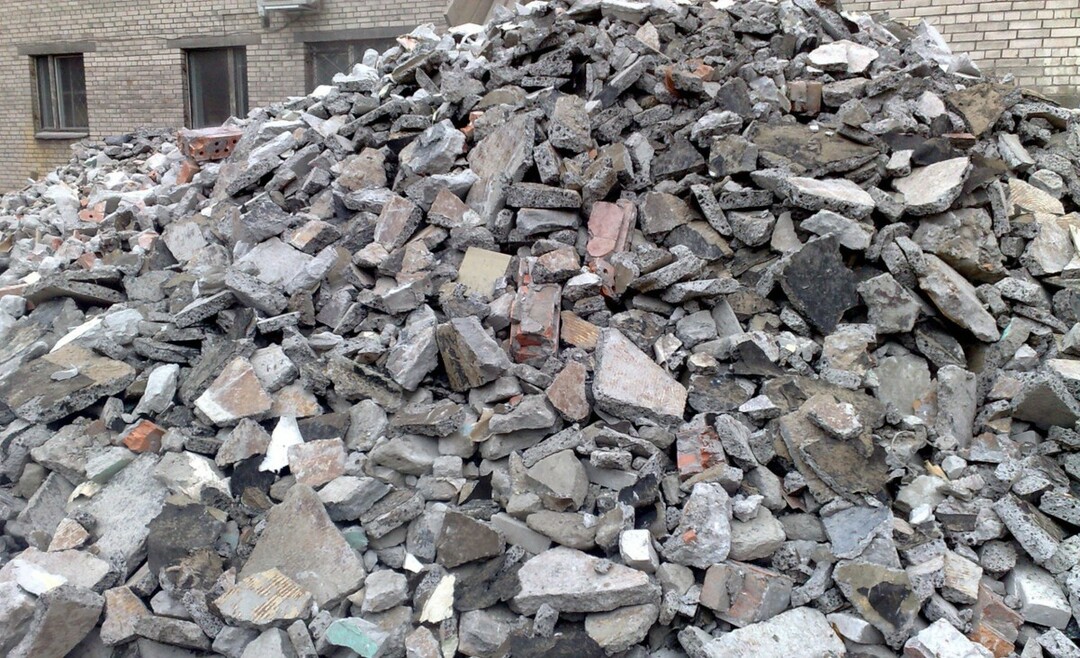
- to reduce cement consumption, it is permissible to use fragments of brick materials, stones and etc. construction waste;
- to create a reinforcing frame, you can use steel rods diameter 1 cm and annealed wire for connection;

- to build formwork, you will need preparation wood blanks for frame, as well as cladding building materials;

- self-tapping screwsallowing you to connect individual parts of the formwork frame;
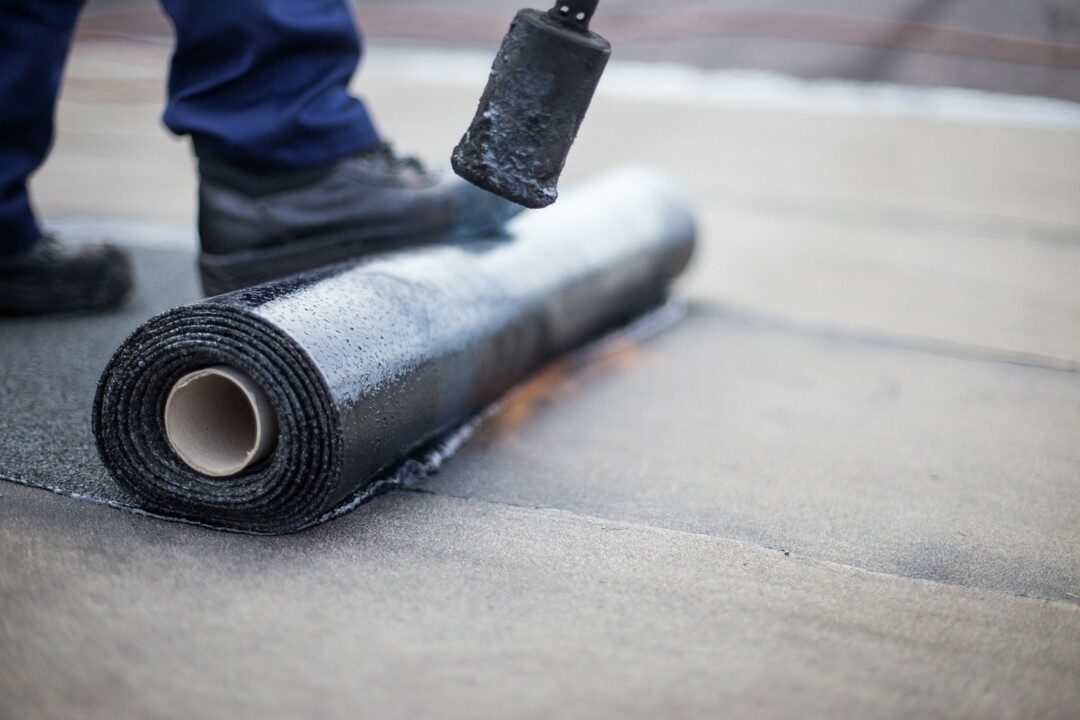
- building materials for waterproofing – roofing felt and polyethylene.
List of required tools:
- building level;
- hammer;
- roulette;
- wood saw;
- putty knife;
- shovel;
- electric grinder with a nozzle for metal.
Selection of the shape and size of a concrete porch
The design of the porch and its shape are purely decorative parameters. They are selected at the personal discretion of the home owner. The steps can have the following configuration options:
- round;
- square;
- rectangular;
- semicircular;
- trapezoidal.
Standard design dimensions:
- distance between the doorway and the step platform above – up to 5 cm;
- entrance width – minimum80 cm;
- overhang of the stepped support platform – maximum3 cm;
- slope of the staircase - no more than 45 degrees;
- step width – 25–30 cm;
- distance between steps – 16–20 cm.
Formwork drawing
The drawing is done at the preparation stage. Thanks to this, you can buy building materials in the correct volume and ensure optimal placement of the formwork. When making calculations, it is important to take into account a number of nuances:
- the height of the porch is calculated from the ground to the level of the door threshold;
- the width is determined by the number of people who walk along the porch and use it; for the passage of 1 person the sufficient width is 80 cm, and for 2 people – 1m;
- an odd number of steps is the most comfortable option; at the same time, the height of the steps should be 12–20 cm, and in width – 25–30 cm;
- The porch must be flooded 5 cm below the threshold;
- it is important to strictly observe the angle of inclination of the march, its average value is from 25 to 41 degrees.
A porch made of concrete, made according to the drawing, fully corresponds to the plan, and its construction is easier than “by eye.”
Preparing to pour the porch

After receiving the drawings, completing all the calculations and preparing building materials and equipment, it’s time to start laying out the foundation.
How this is done:
- They mark the area.
- A hole is dug along the outlined contours of the porch under construction. depth 50 cm.
- A cushion of sand and crushed stone is installed in the recess 0.2 m thick and compact it thoroughly.
- The surface of this pillow is waterproofed using dense polyethylene.
- In the wall of the building, holes are made on the fundamental surface into which steel rods are inserted (the distance between the rods should be minimum 10 cm).
- You will also need to drive metal rods vertically into the soil. They must perform 0.2 m above the surface.
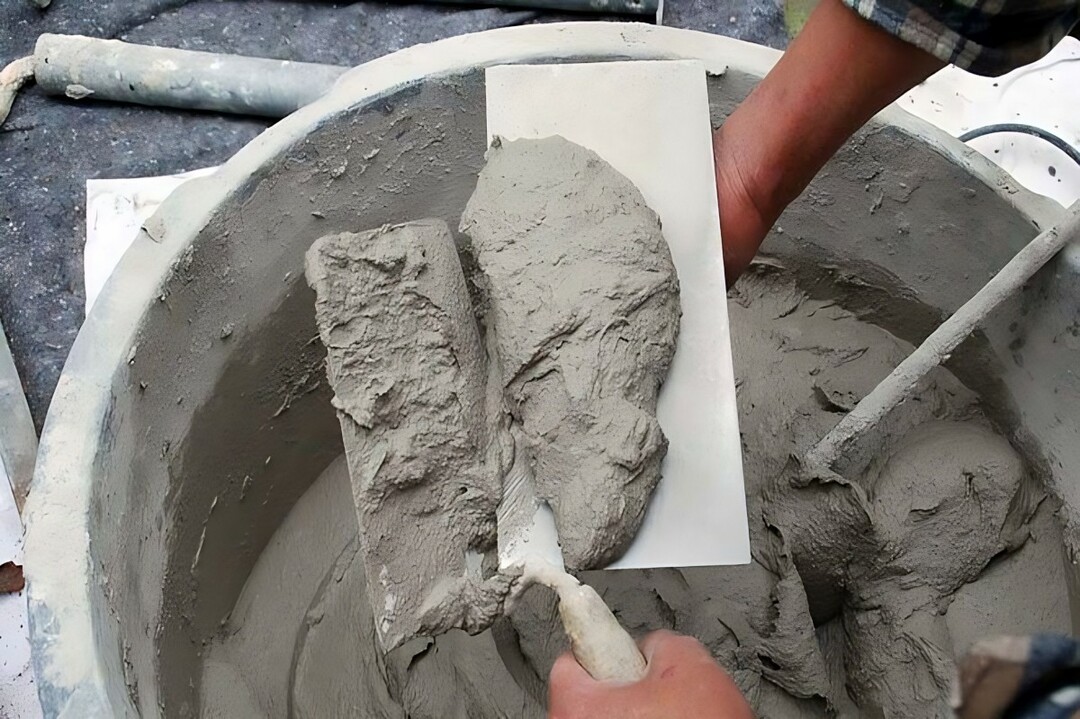
- Making a working mixture for concrete. Ratios in the composition of the solution: cement: sand: gravel – 1: 3: 3.
- The resulting mass is poured into a pit, which contains a sand cushion with reinforcement, and then compacted.
- The resulting base is leveled, protecting it from any mechanical influences until it dries completely.
After the concrete base has completely hardened (it takes up to 4 days), it is possible to install formwork on it to fill the structure with steps.
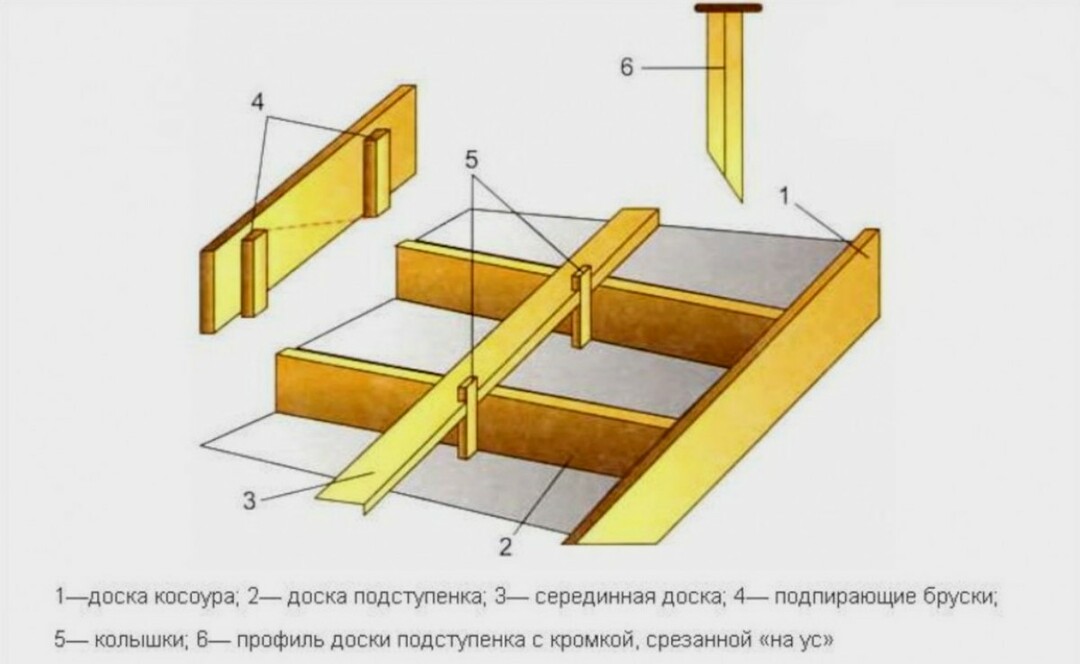
Collection of formwork

- It is necessary to prepare the side components of the formwork frame. They are made 0.3 m above level landings of stairs.
- Taking into account the dimensions of the steps boards are marked on the sides of the formwork, which are then cut.
- Spacers are fixed between these panels, making the formwork sufficiently rigid during concreting.
- Formwork frame installed on a pre-filled foundation, fixed with pegs, driving them into the soil around the perimeter.
- Longitudinal components are installed on the frame, reproducing the steps of the staircase flights.
- Seal the cracks.
Creating steps

- Before pouring concrete on the stairs you will need installation of reinforcing frame. To do this, the reinforcement is cut according to the size of the steps. After cutting, the metal rods are tied with wire.
- The formwork volume is covered with construction waste (stones, brick fragments, etc.) to reduce cement consumption.
- Prepare the solution in a stirrer.
- Ready solution poured inside the formwork. Concreting from the bottom step.
- After pouring all tiers, the concrete mass is compacted (for this, using deep vibrator). This allows you to fill the formed voids and remove air.
- After compaction level the concrete surface according to the level.
- The formwork is left alone for 2 week. During this time, the mixture finally hardens.
- During hardening, concrete must be moistened from time to time with plain water and covered with plastic film.
Facing

- Reinforced concrete base prepare, removing debris and completely removing dust.
- A special impregnation is applied to the surface of the base to increase adhesion.
- Surface of steps and cladding material lubricated with adhesive mixture.
- The tiles are pressed against the base, preventing them from moving.
- It is important to maintain an interval between laid tiles. For this purpose, special spacers are used.
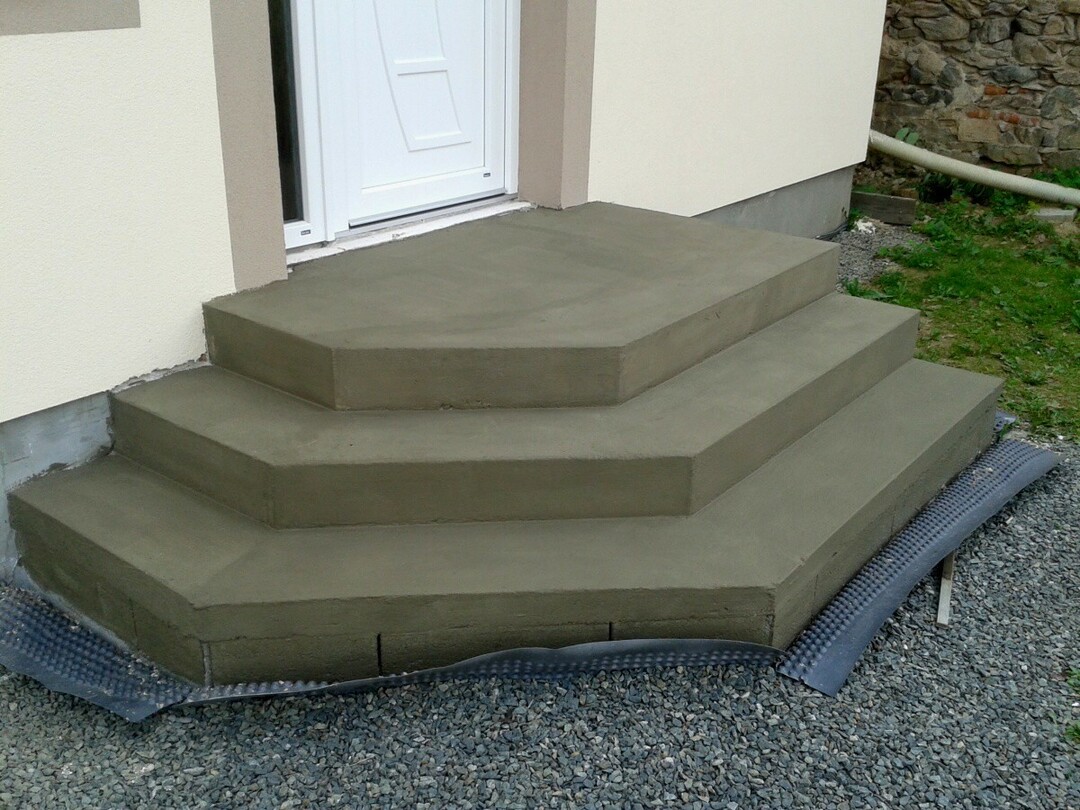
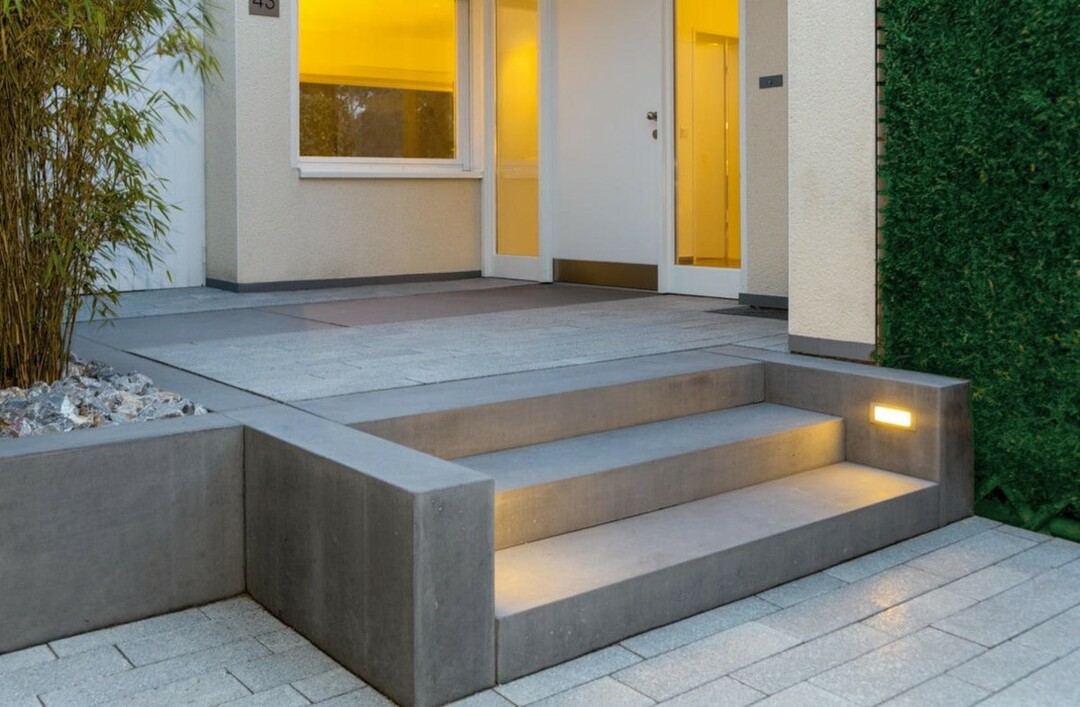
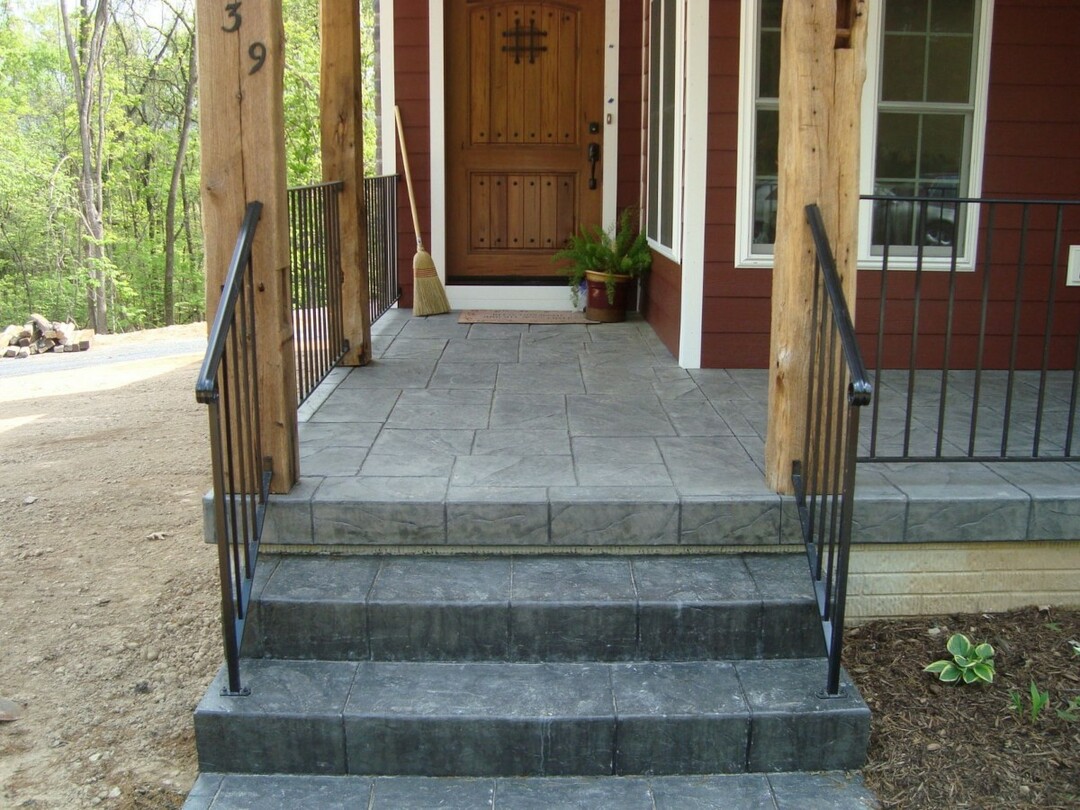
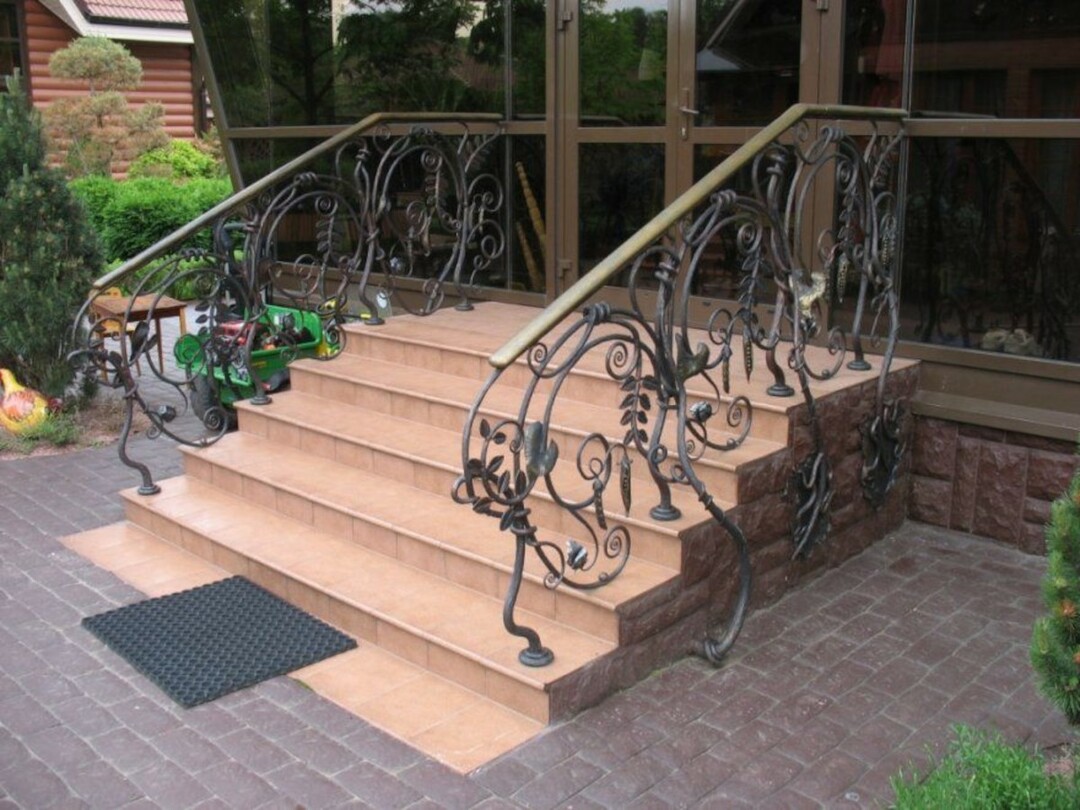
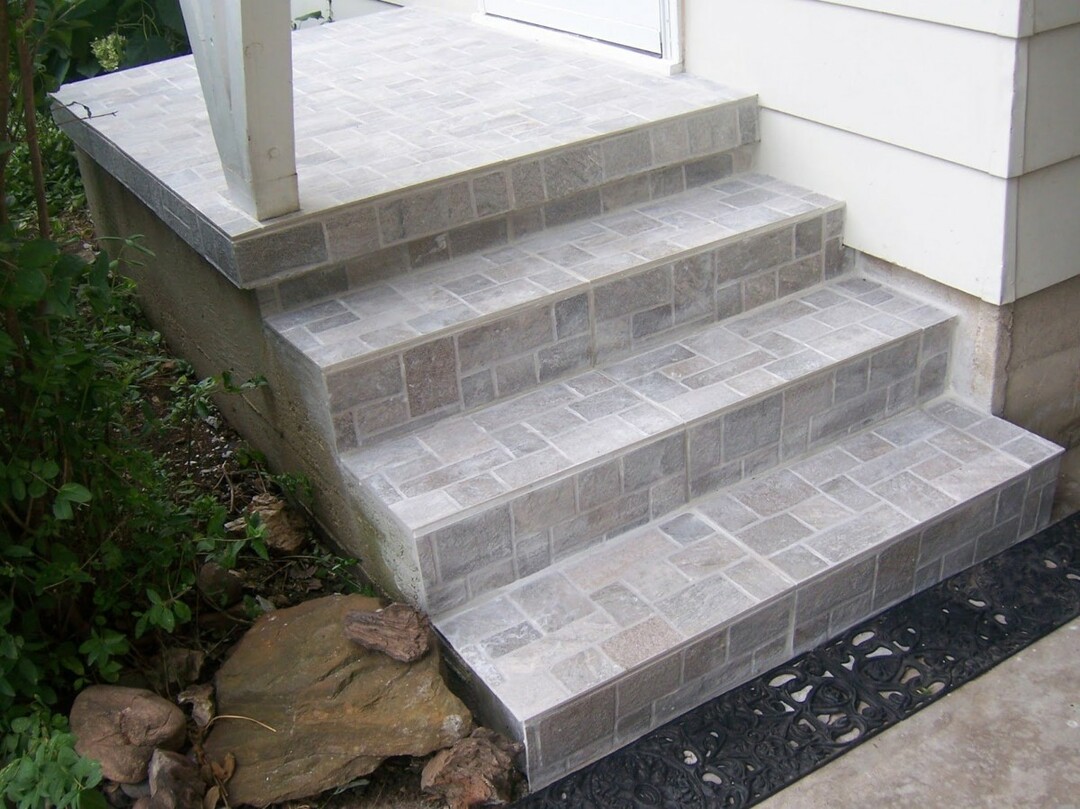
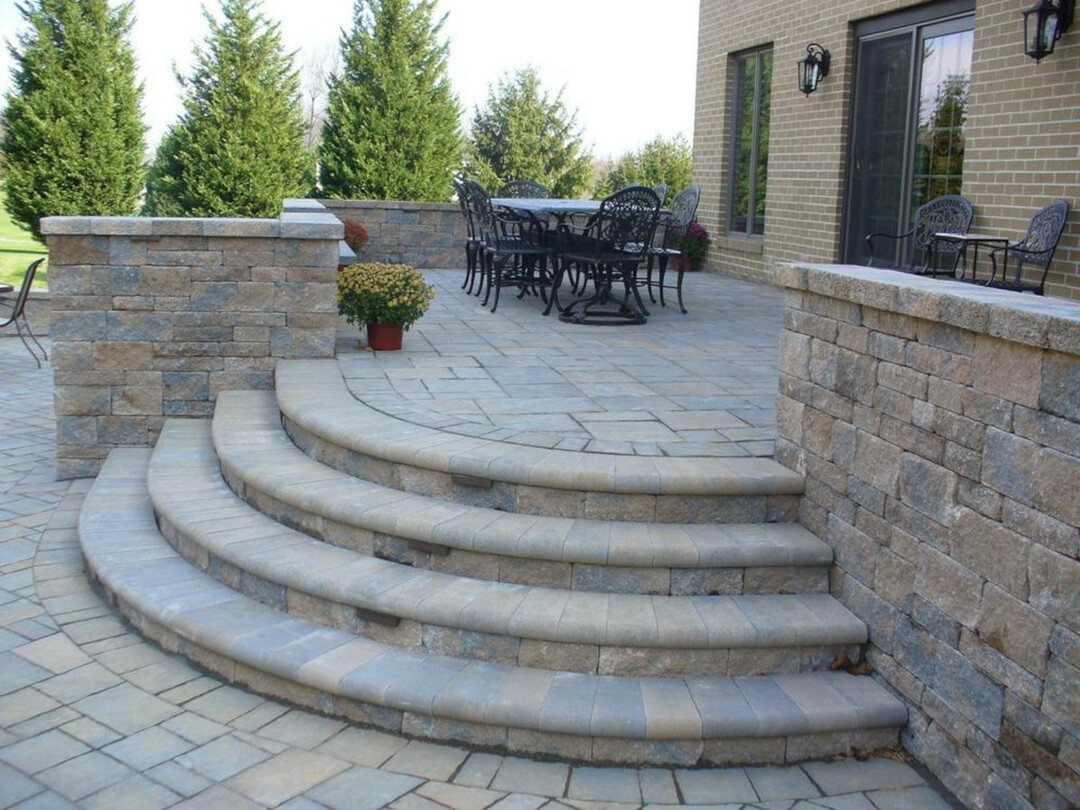
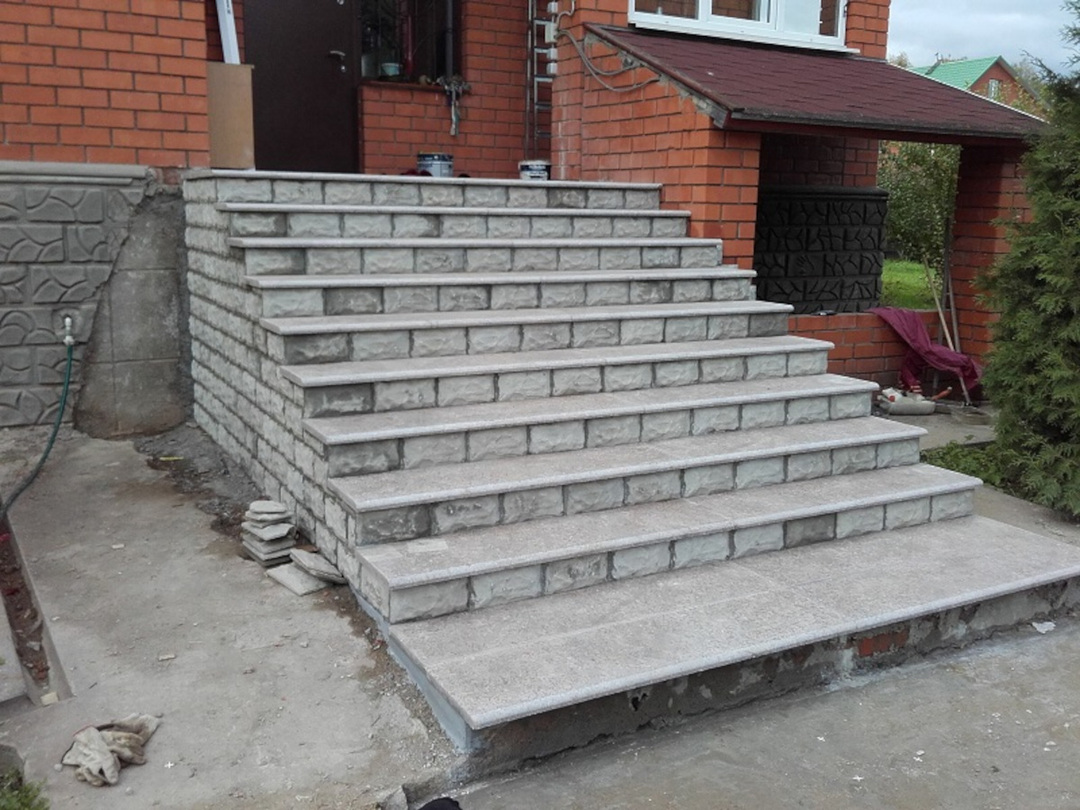
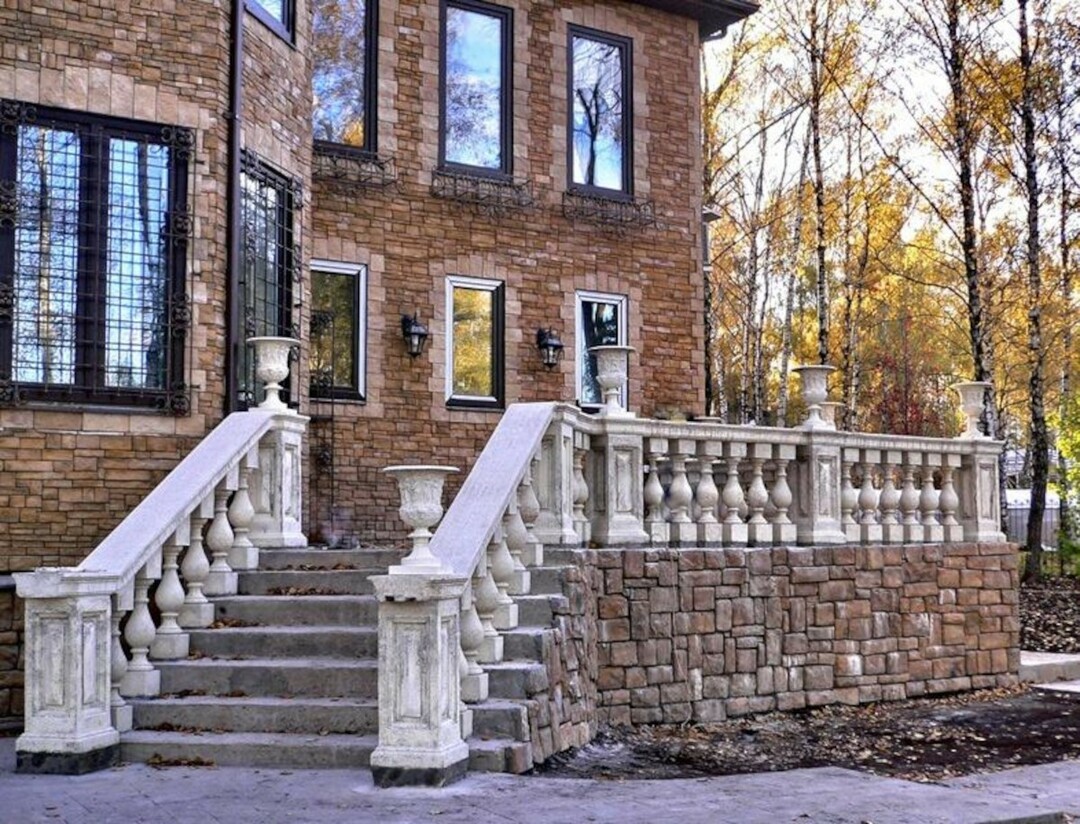
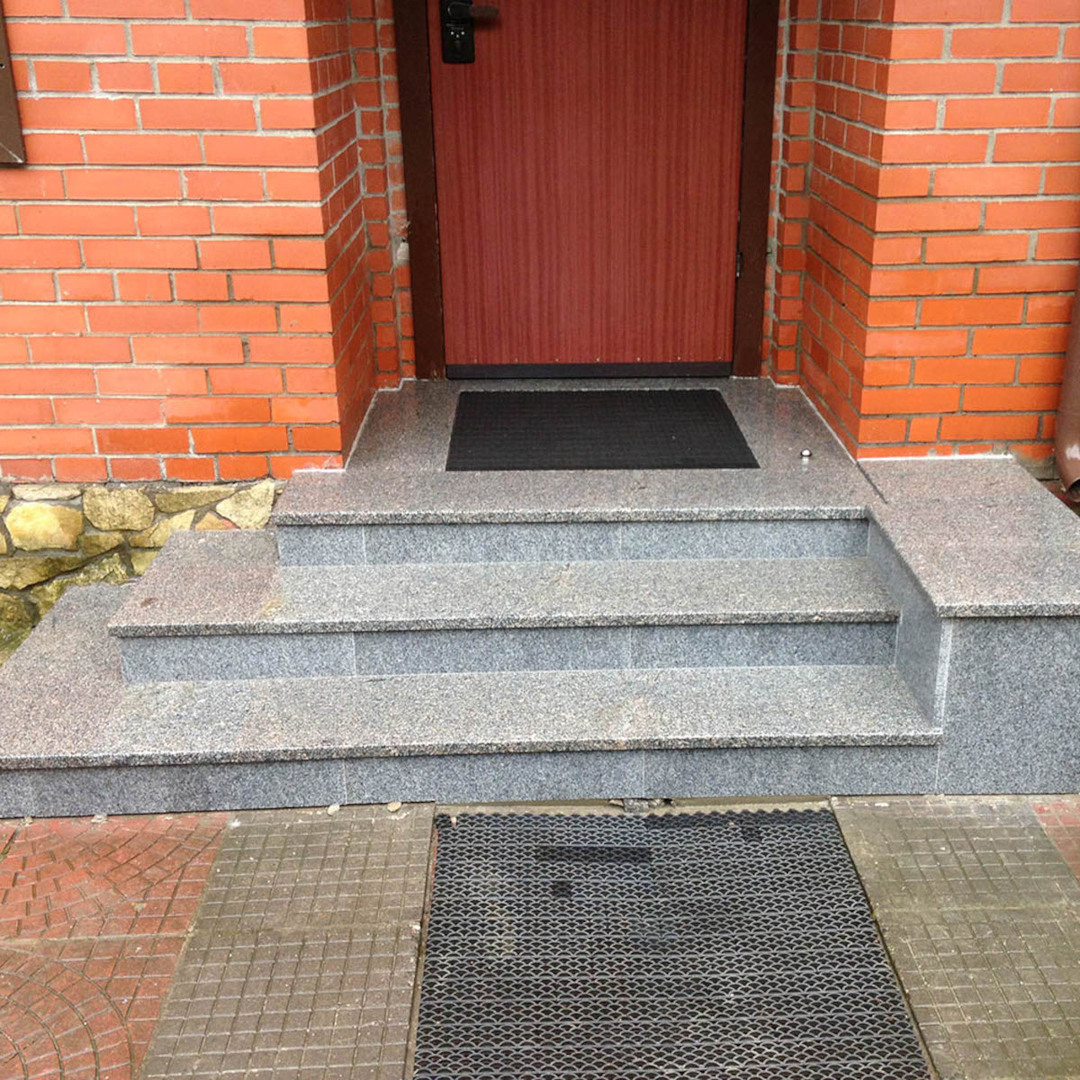
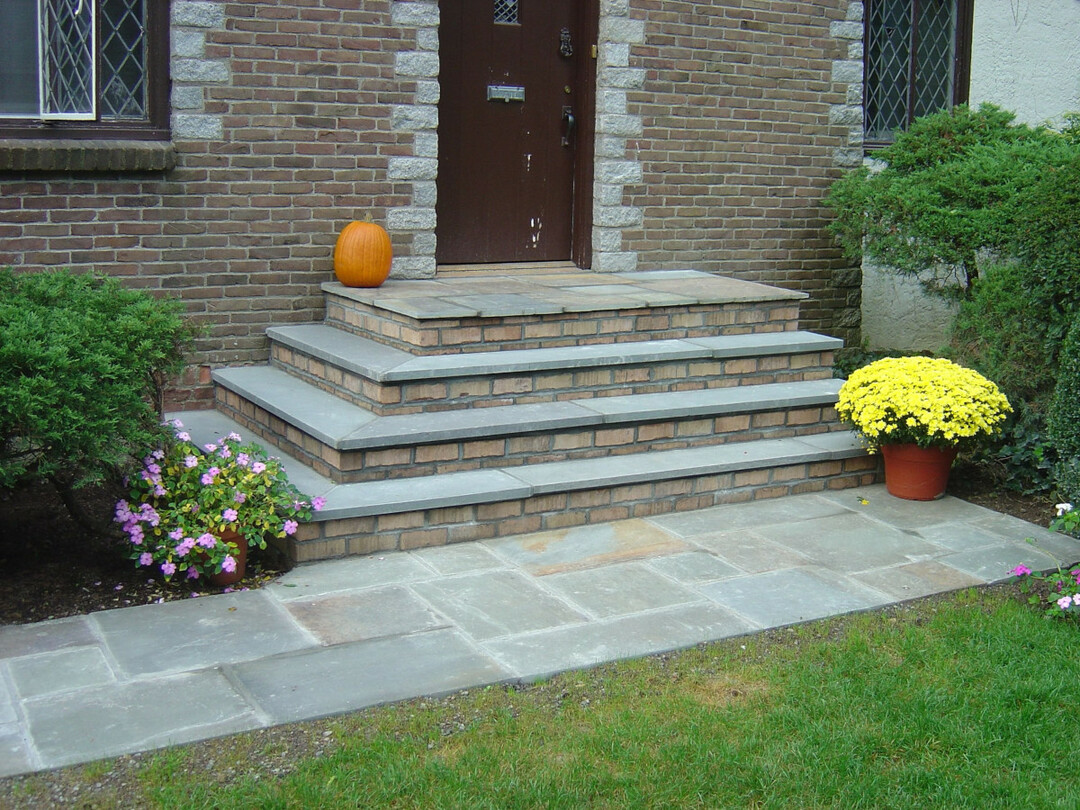
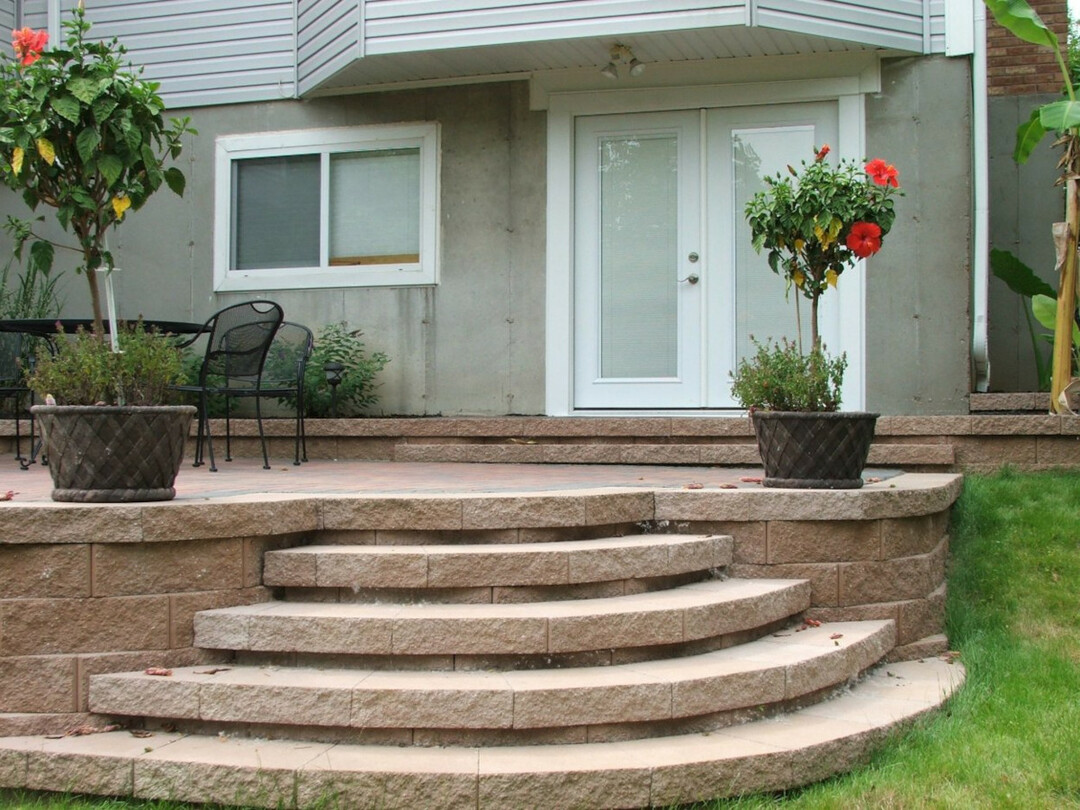
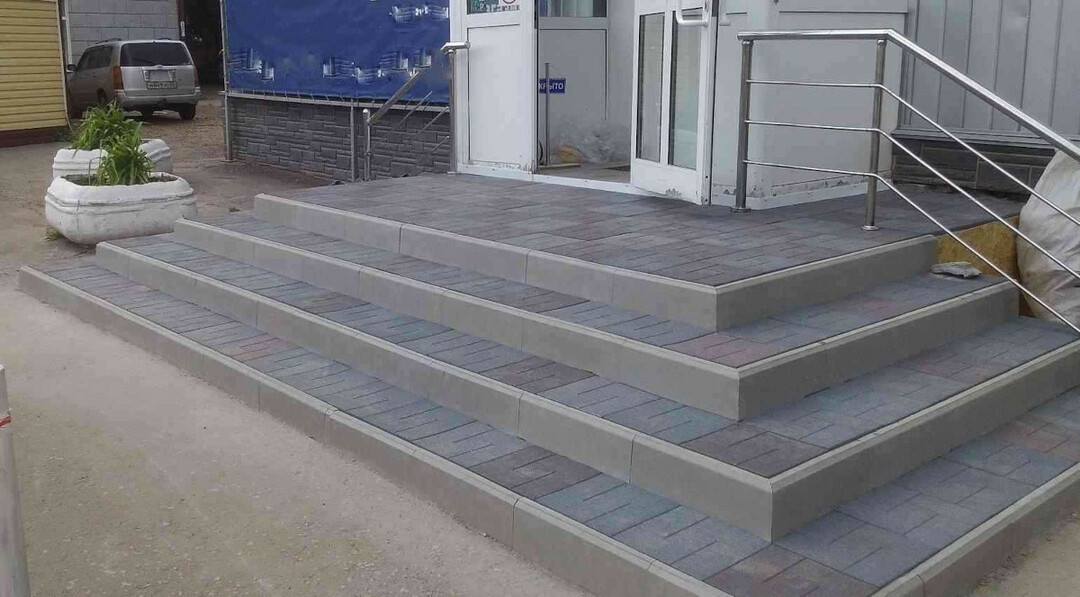
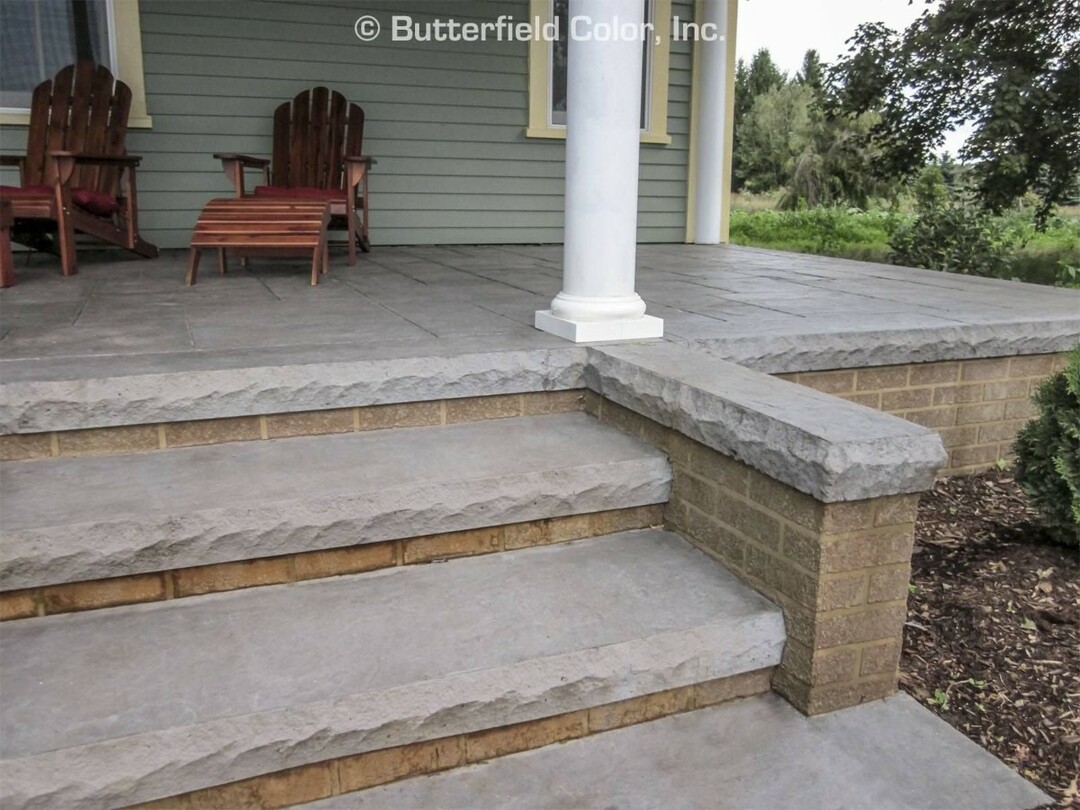
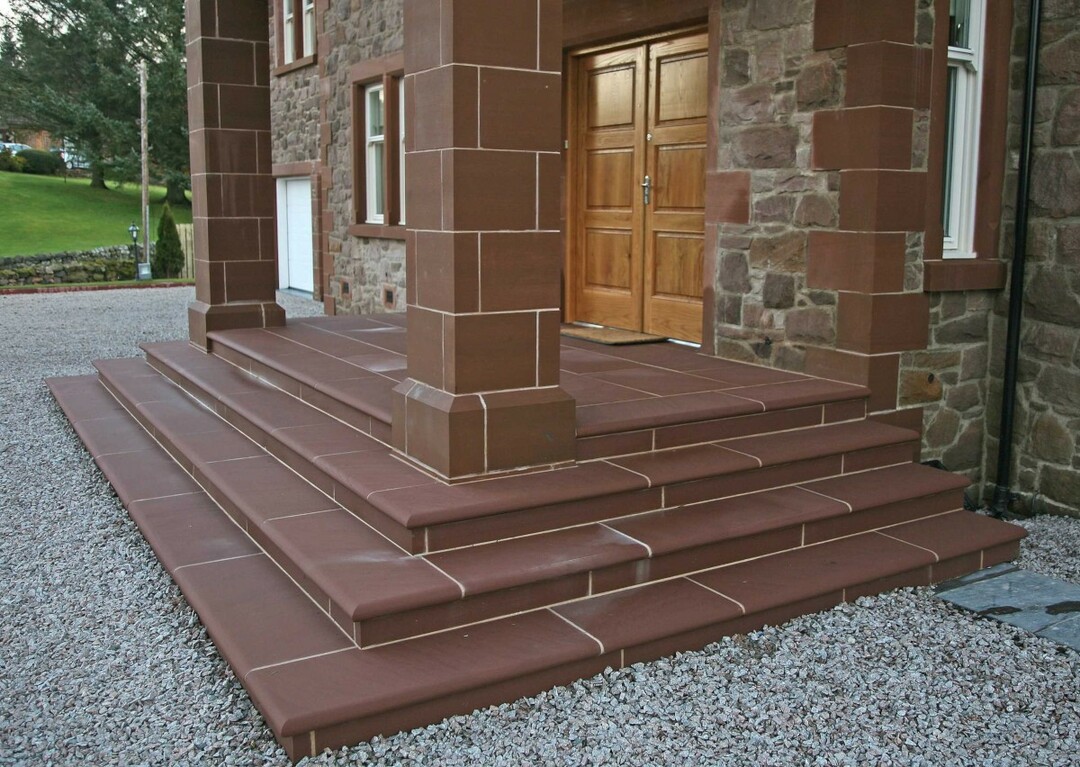
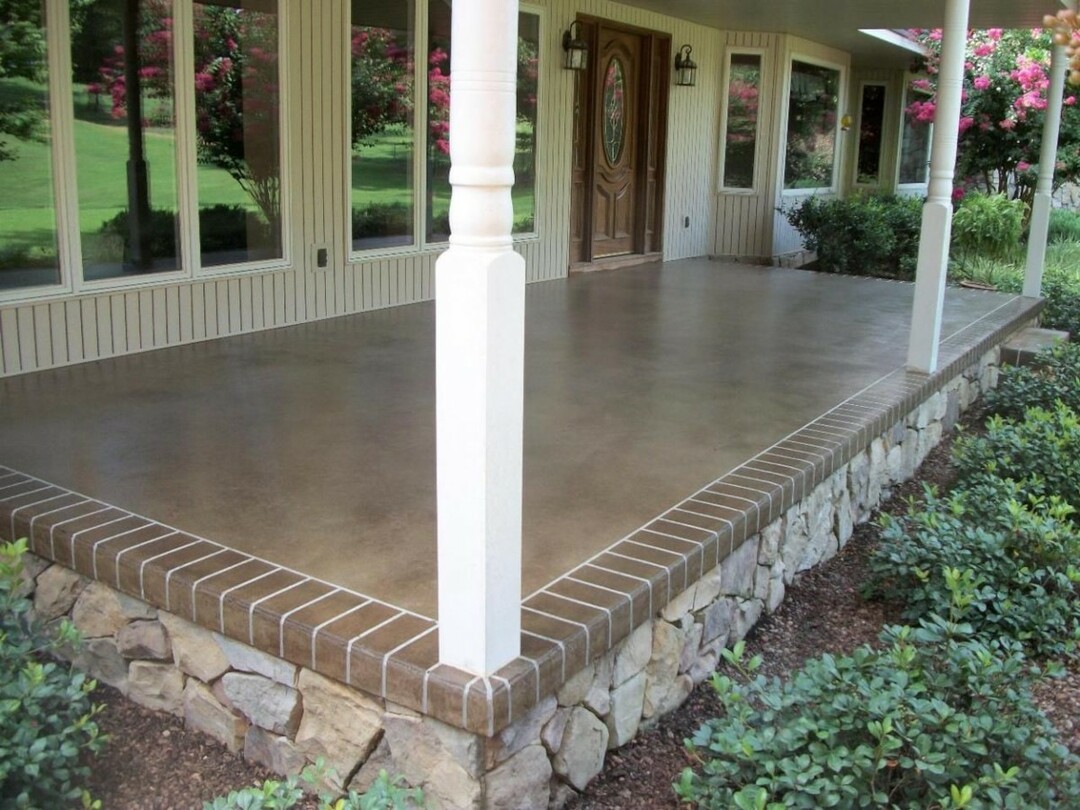
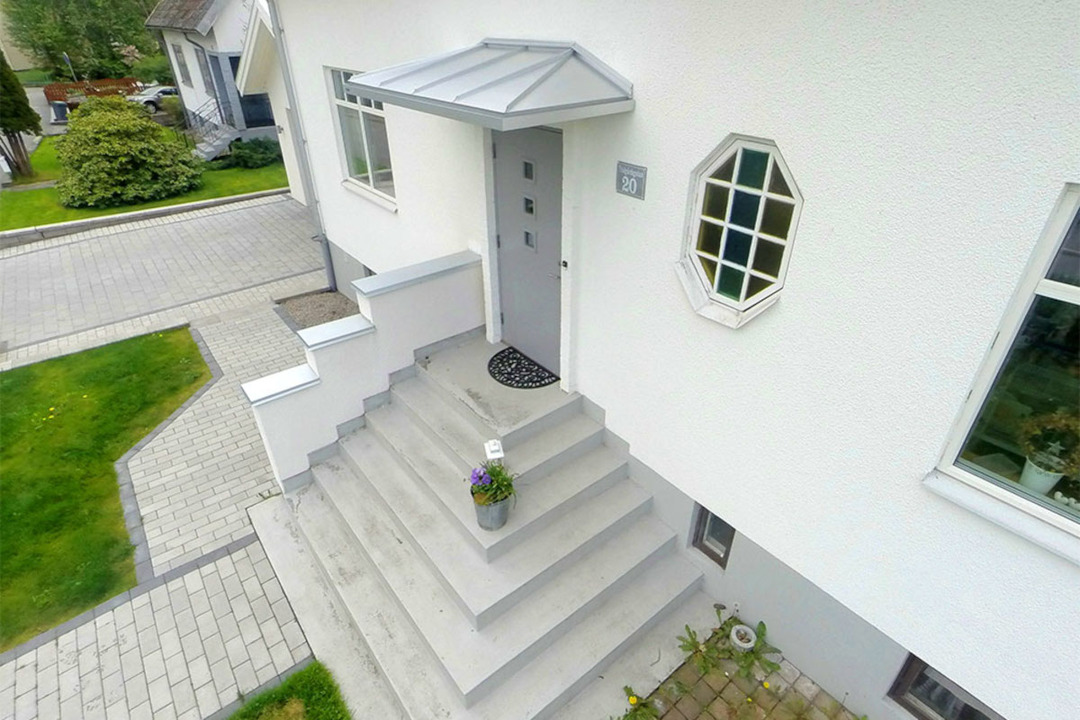
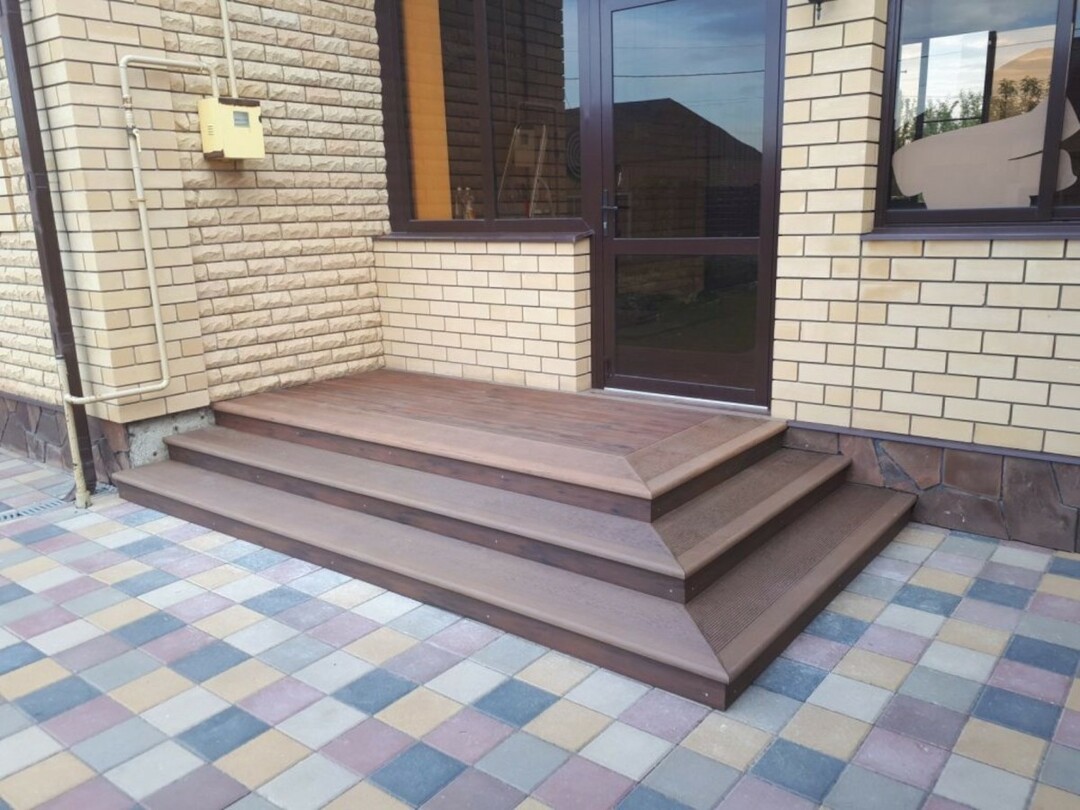
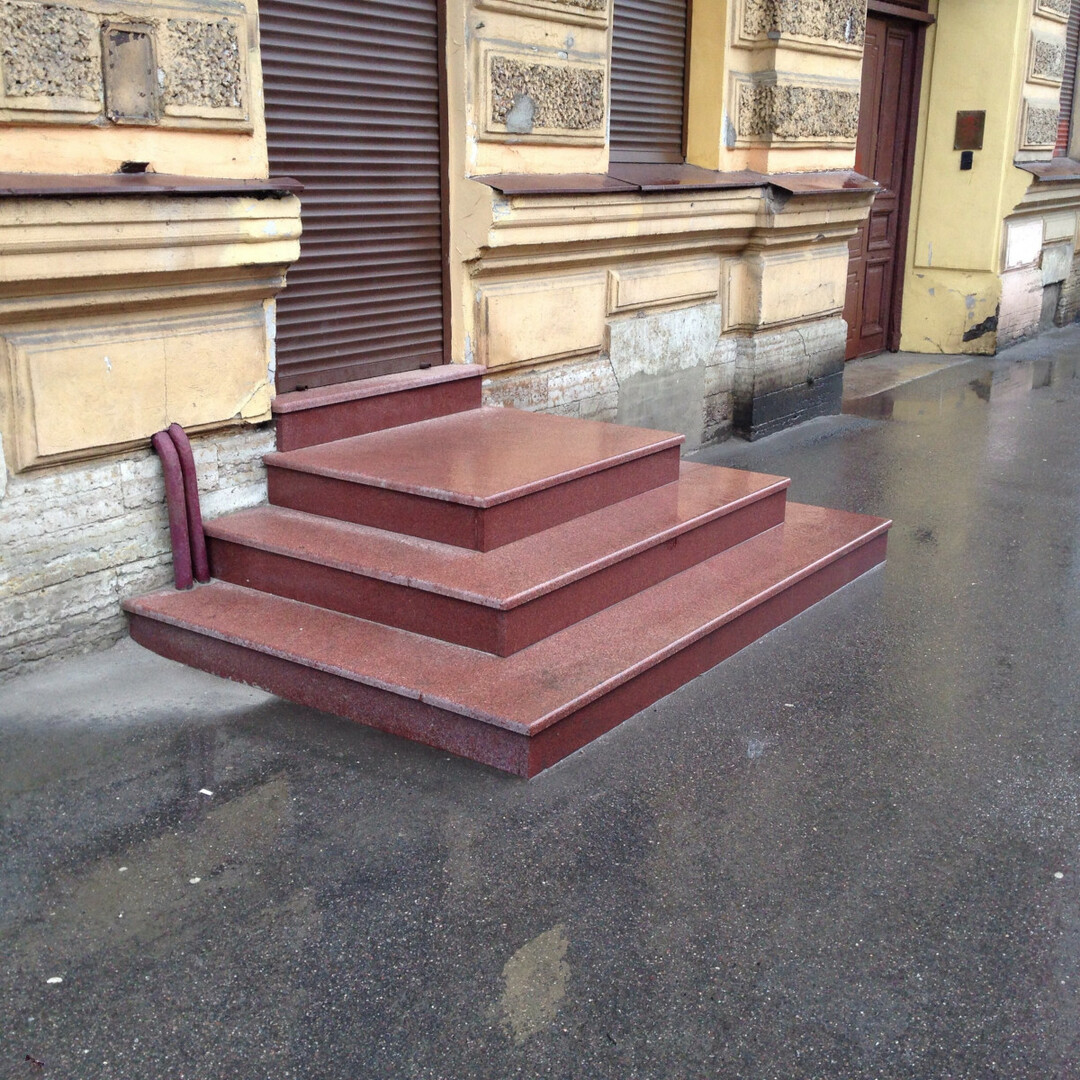
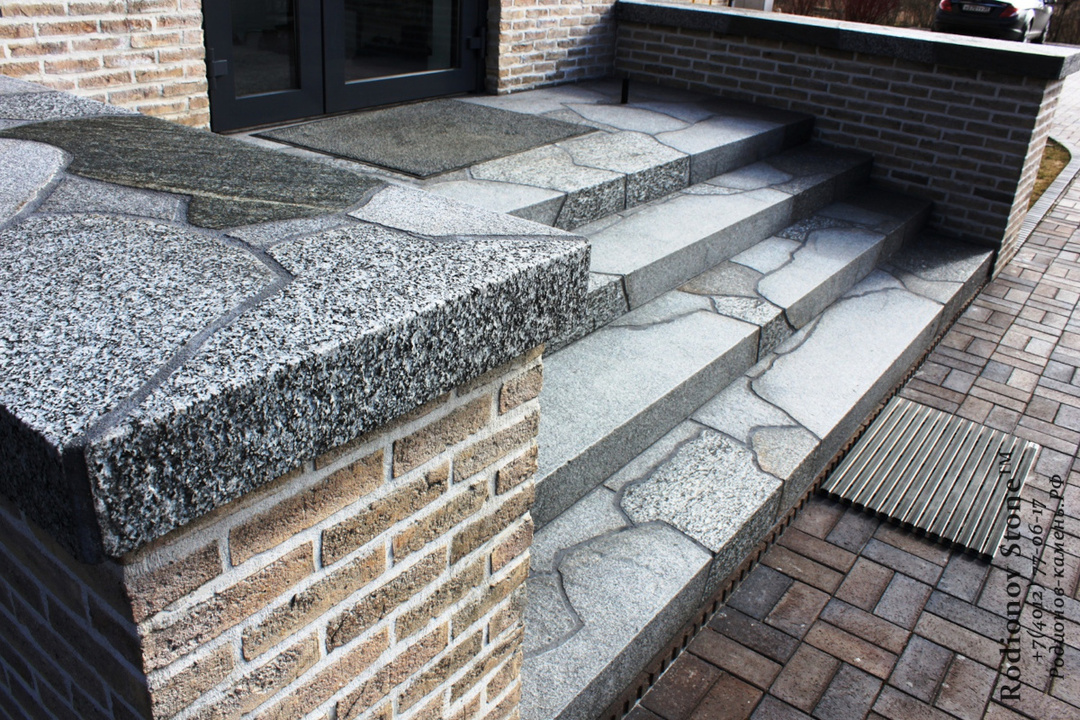
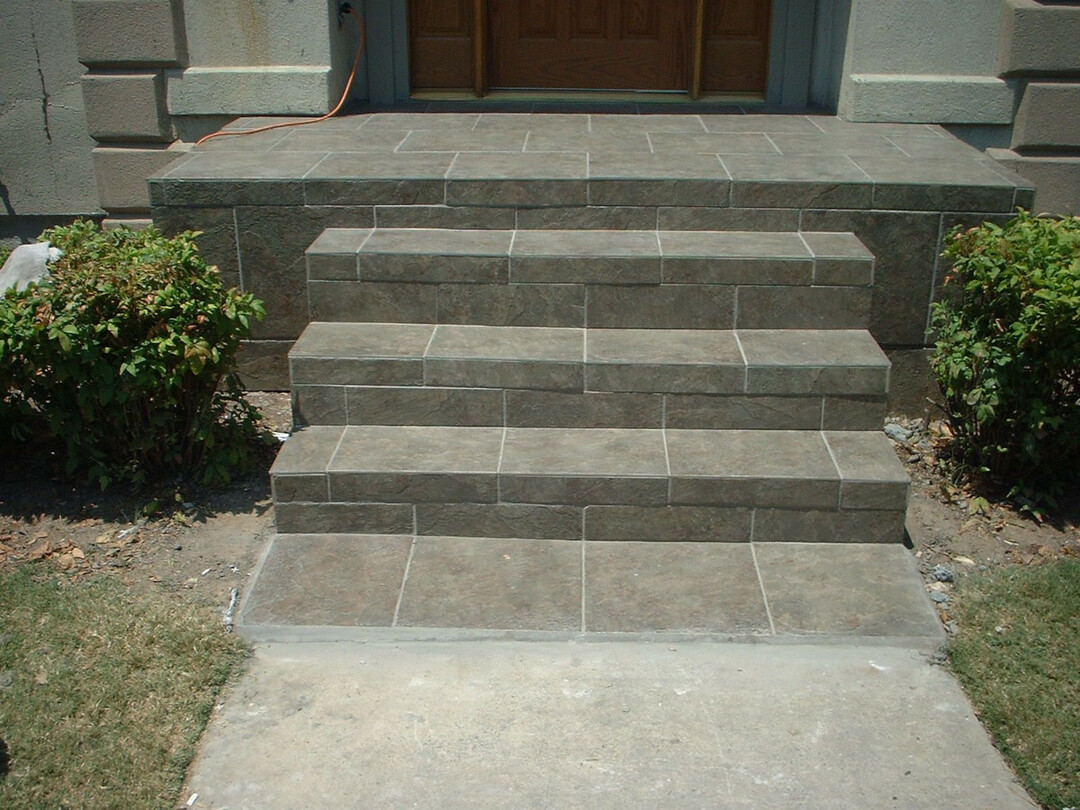
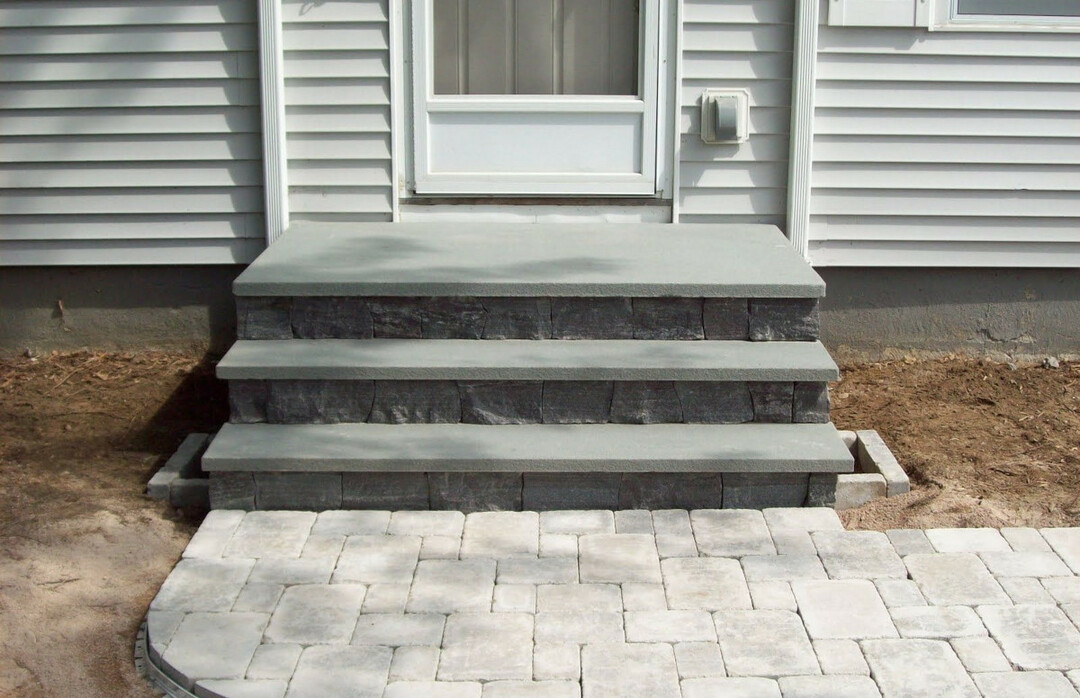
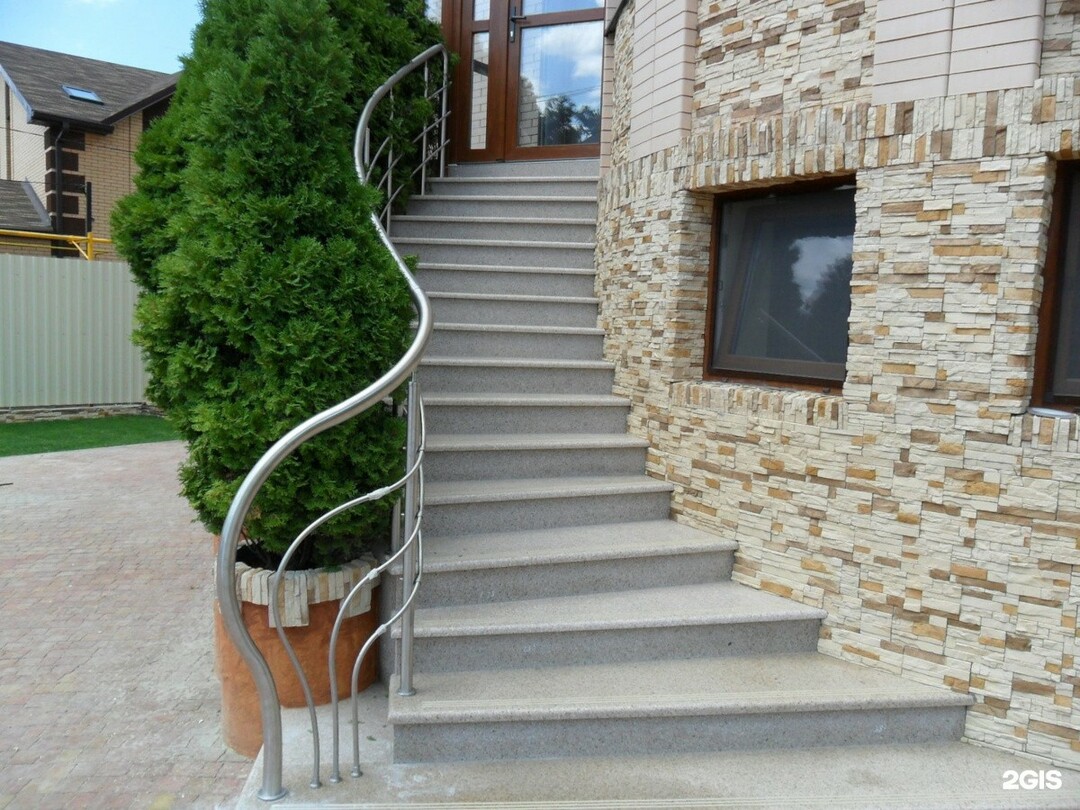
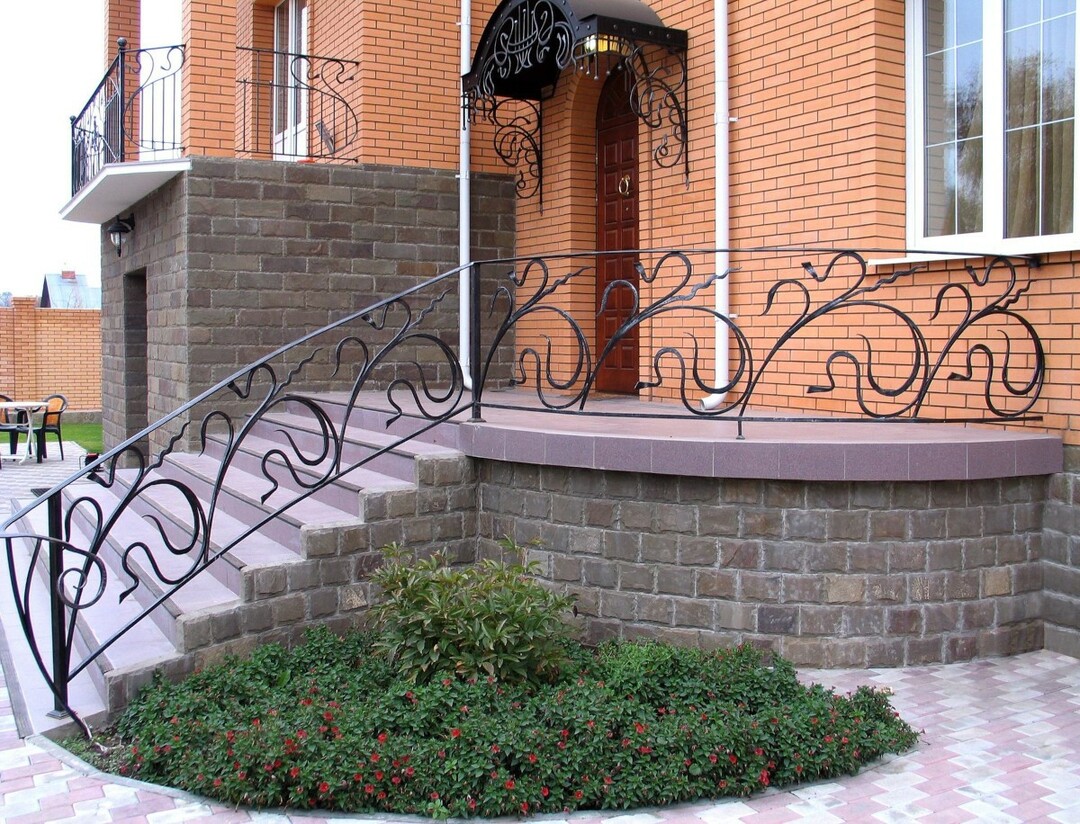
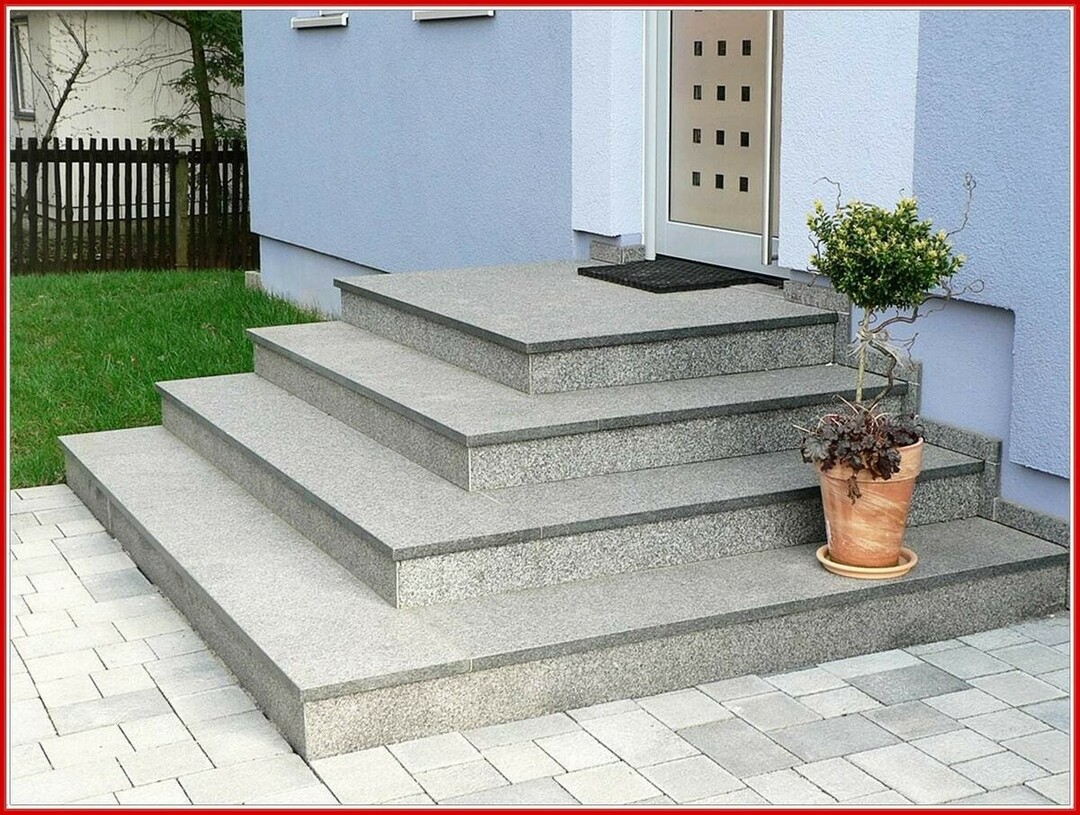
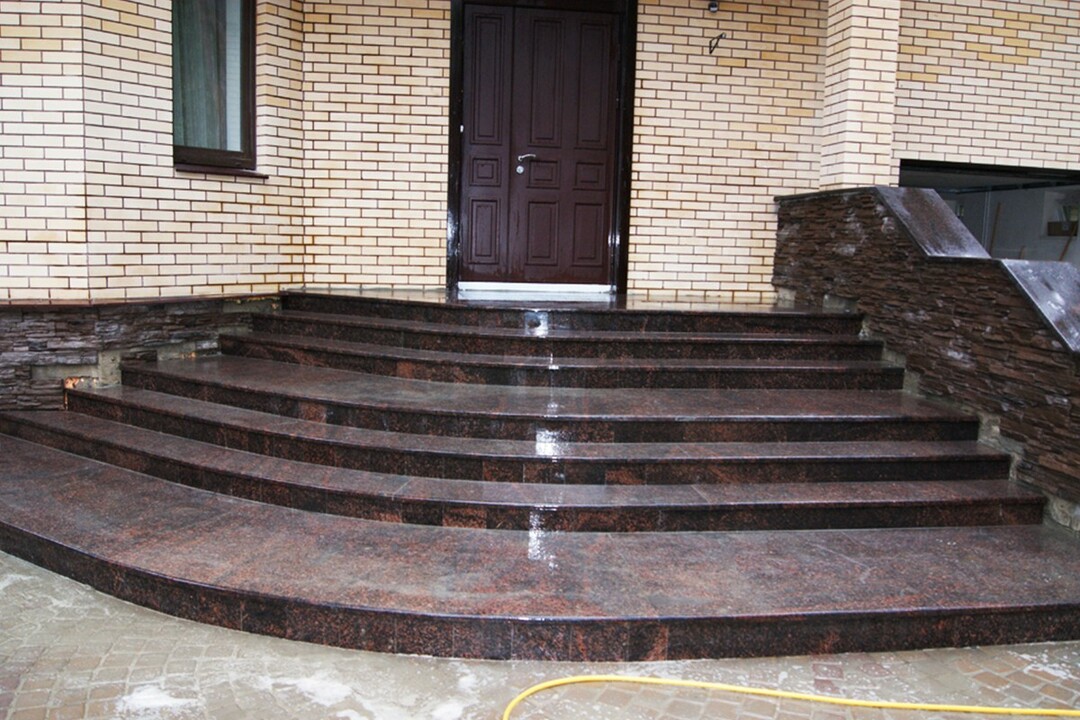
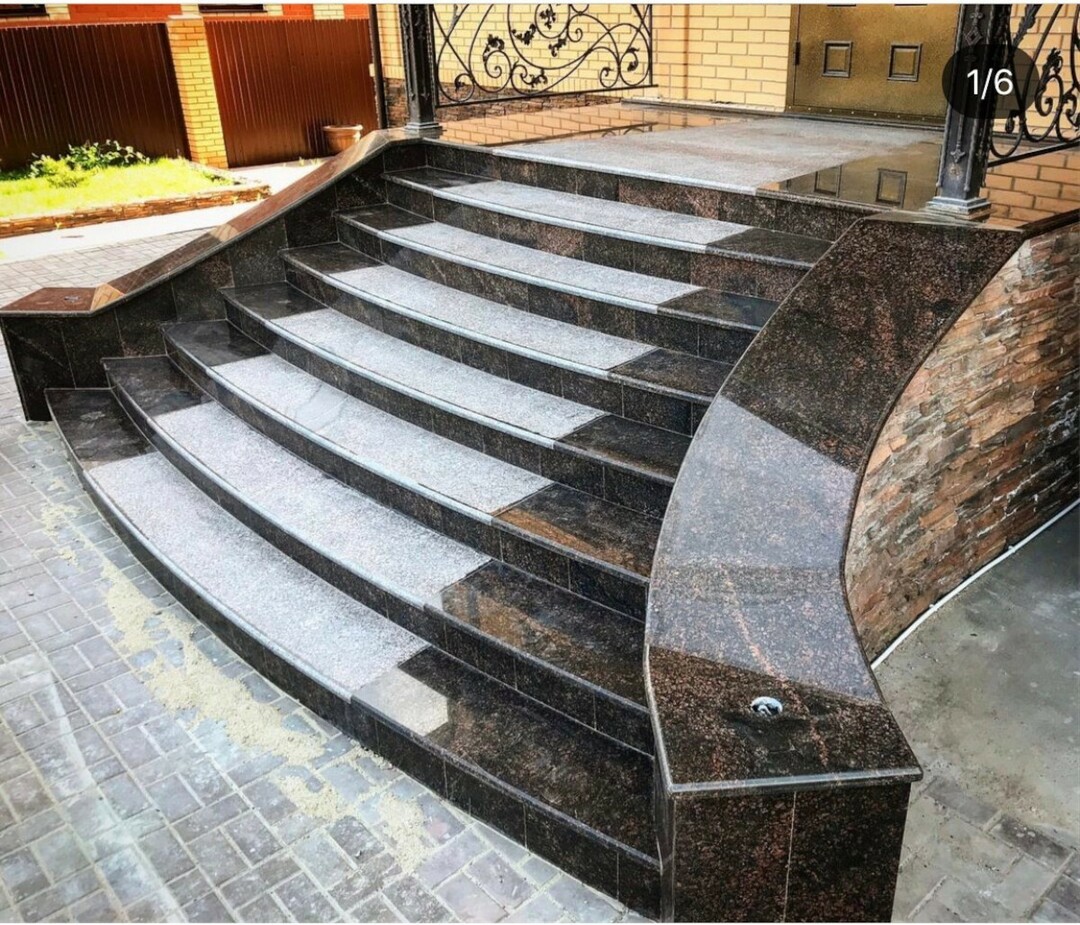
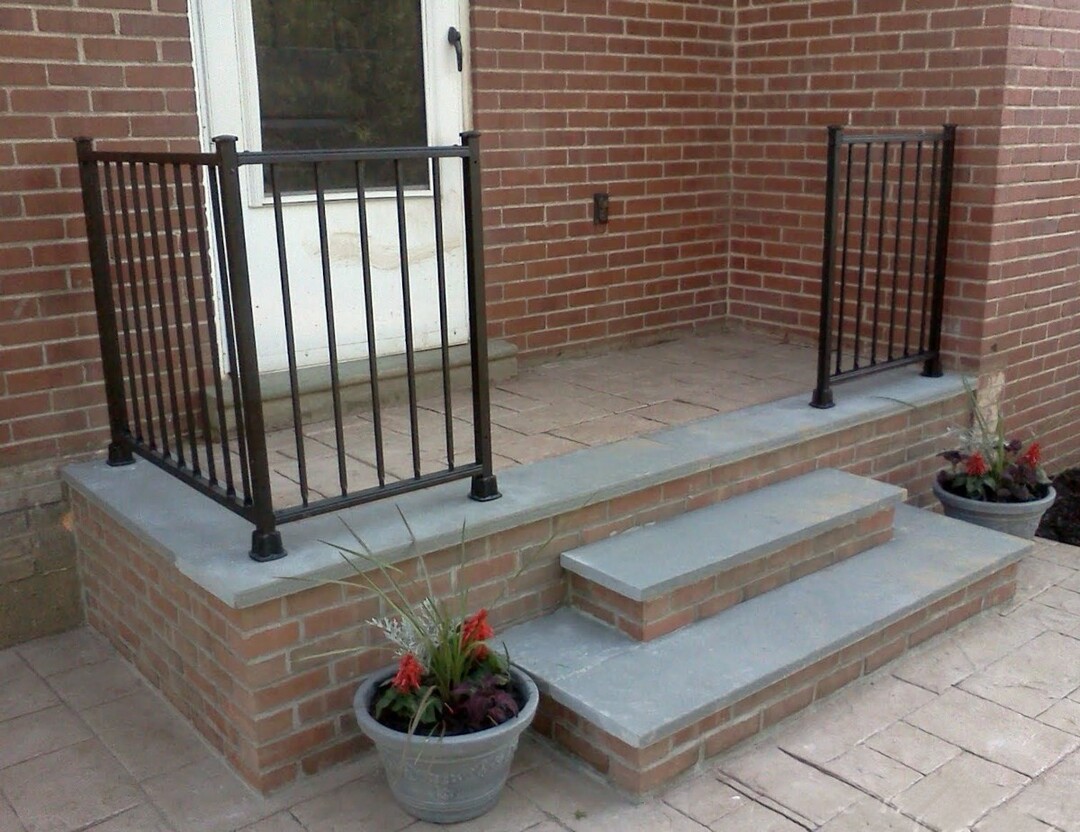
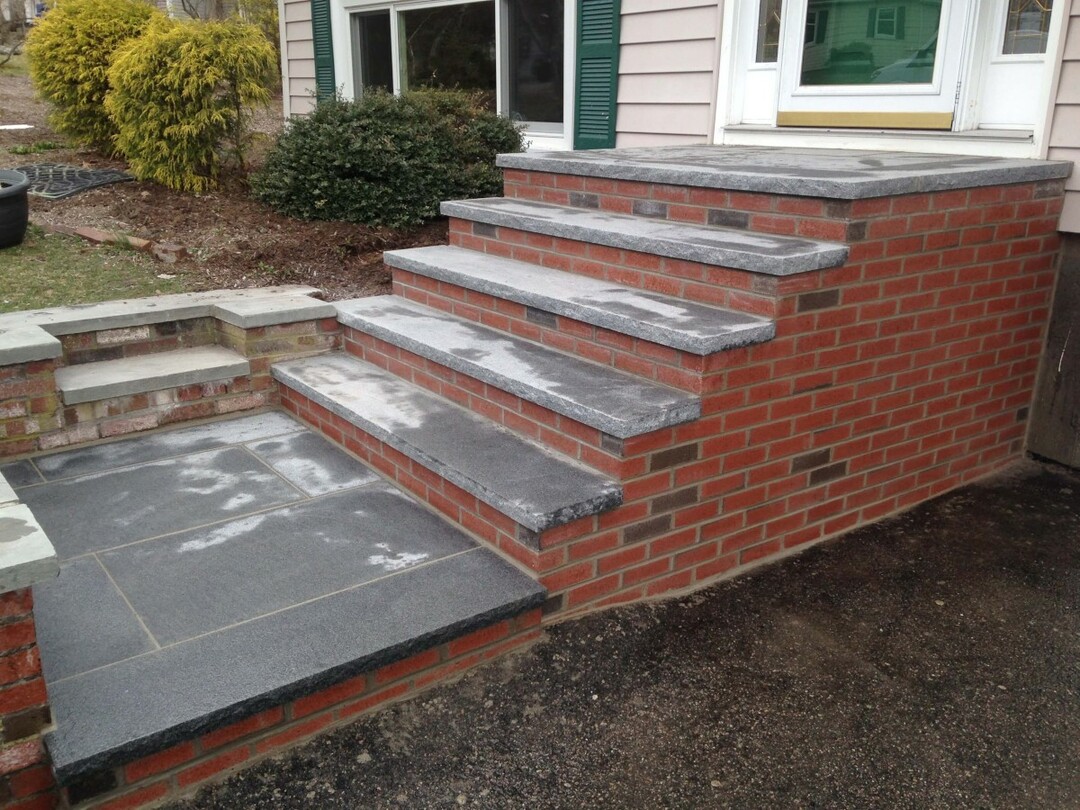
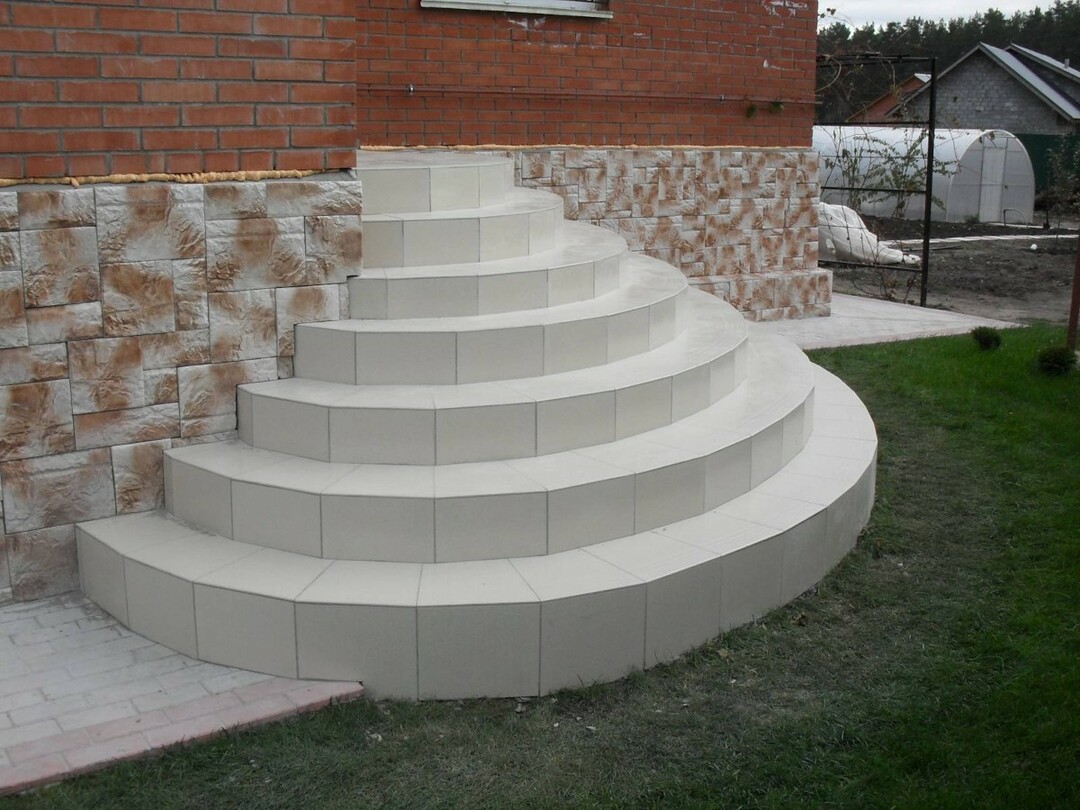
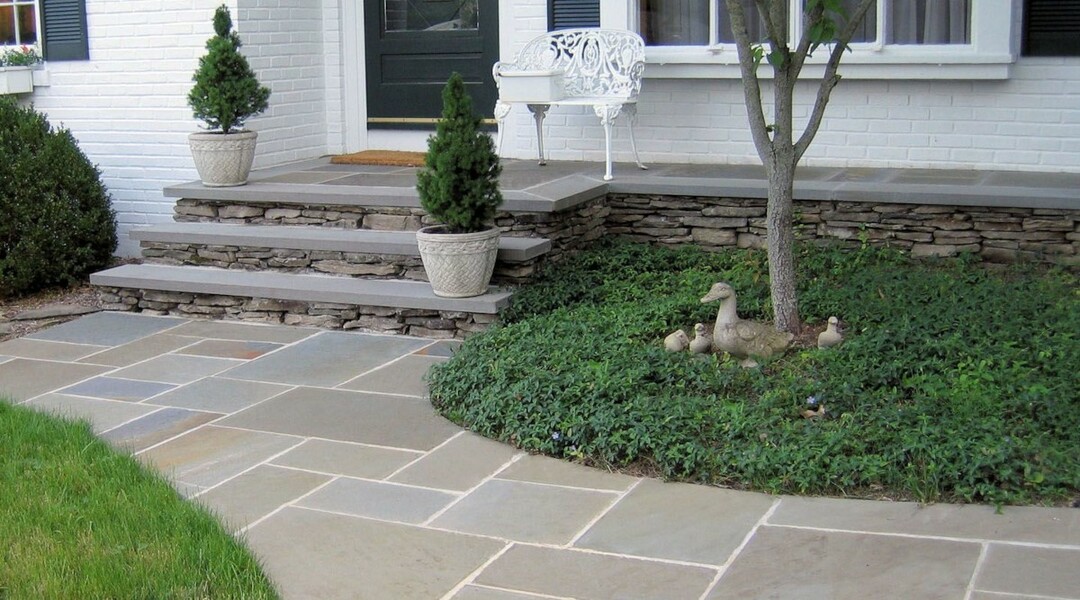
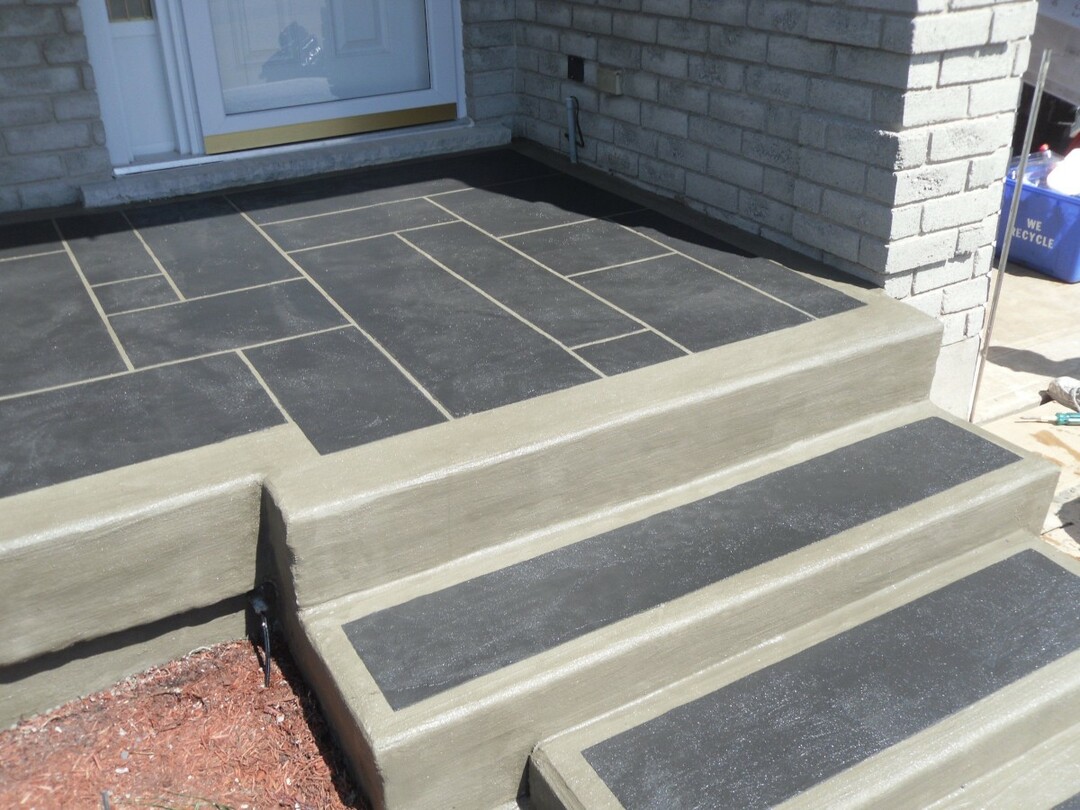
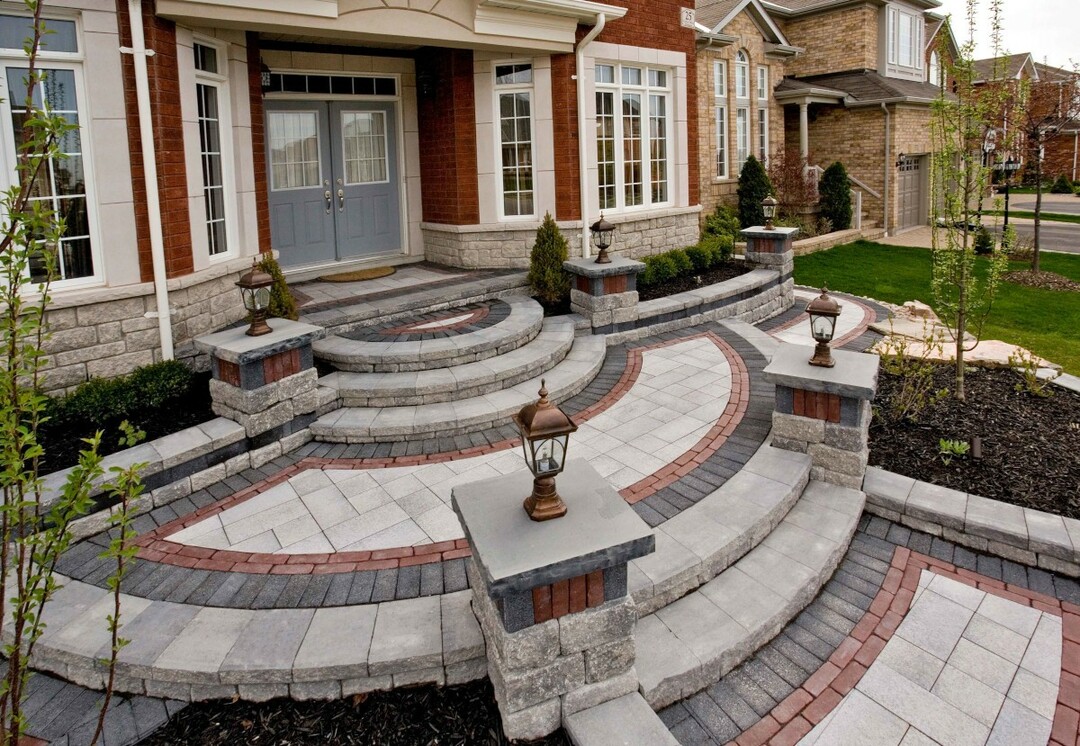
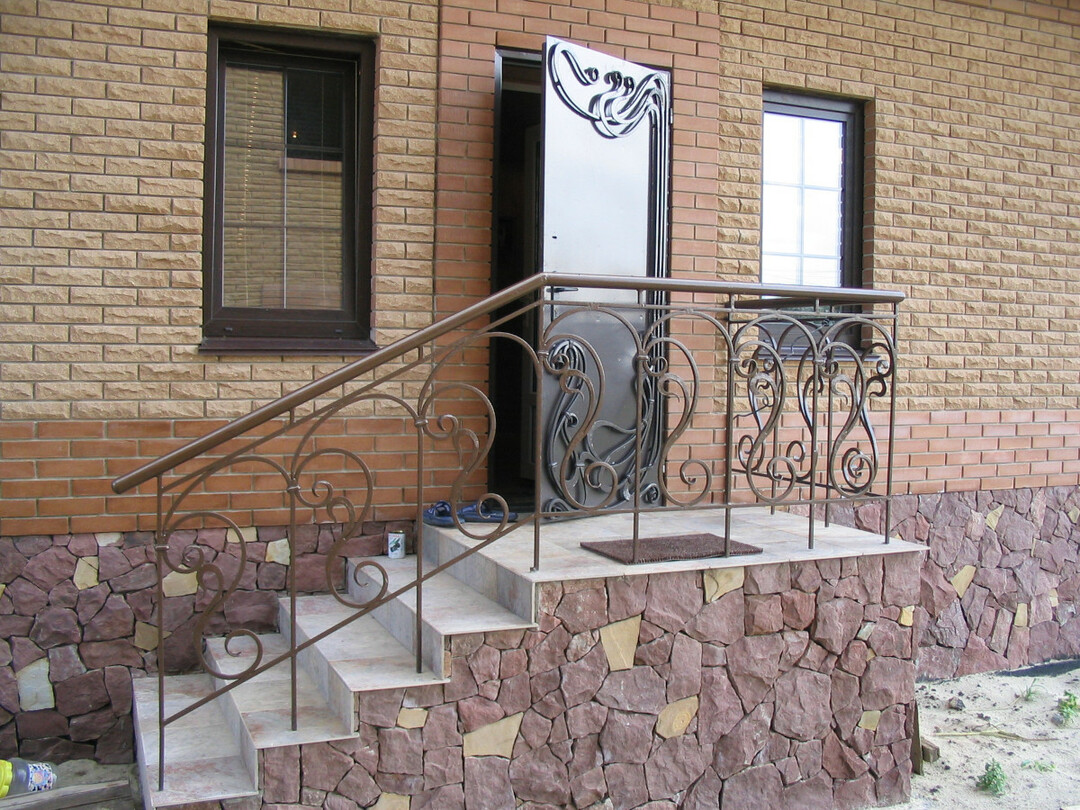
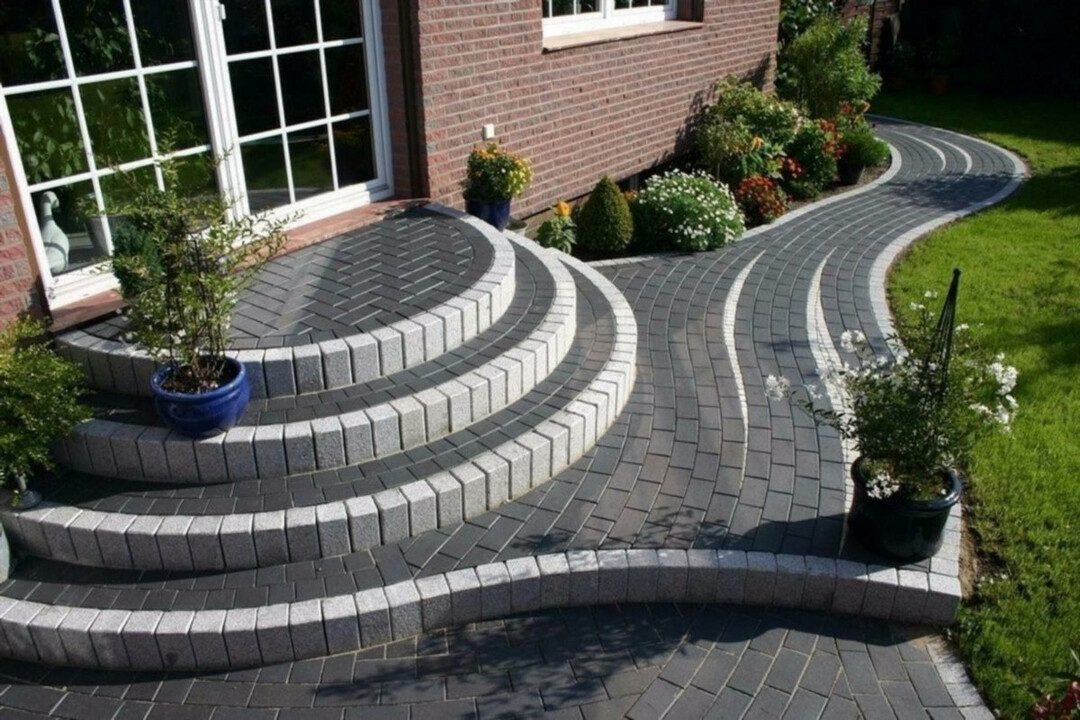
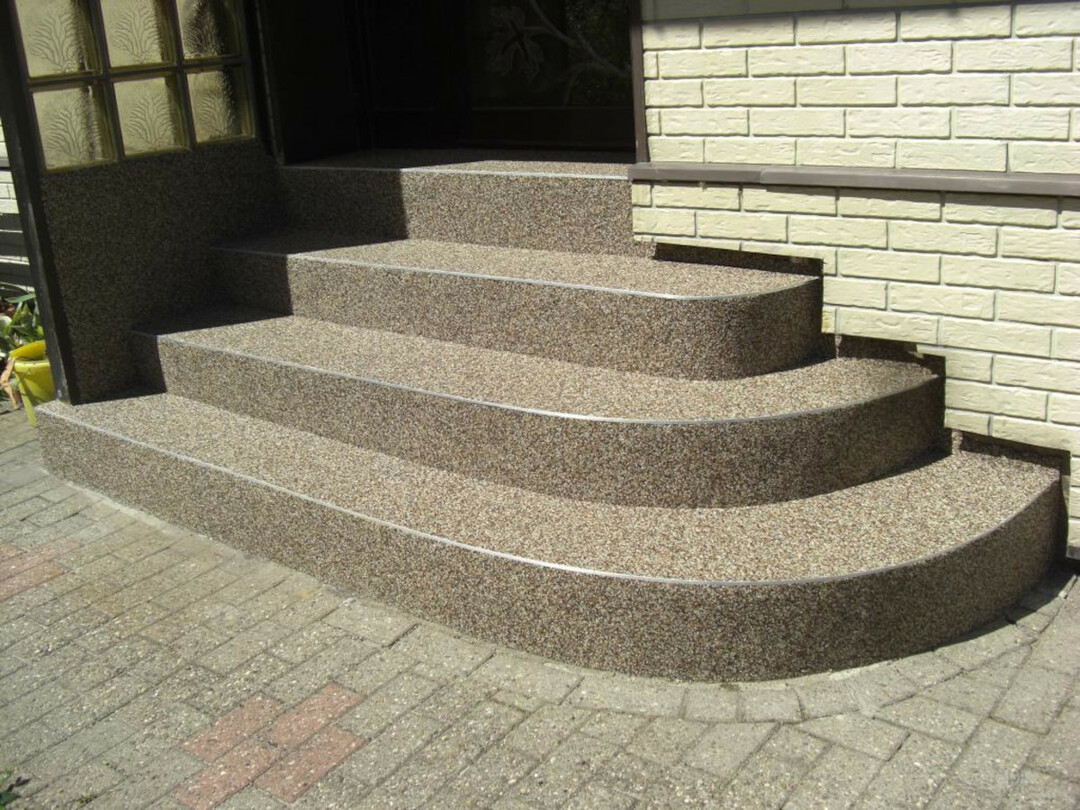
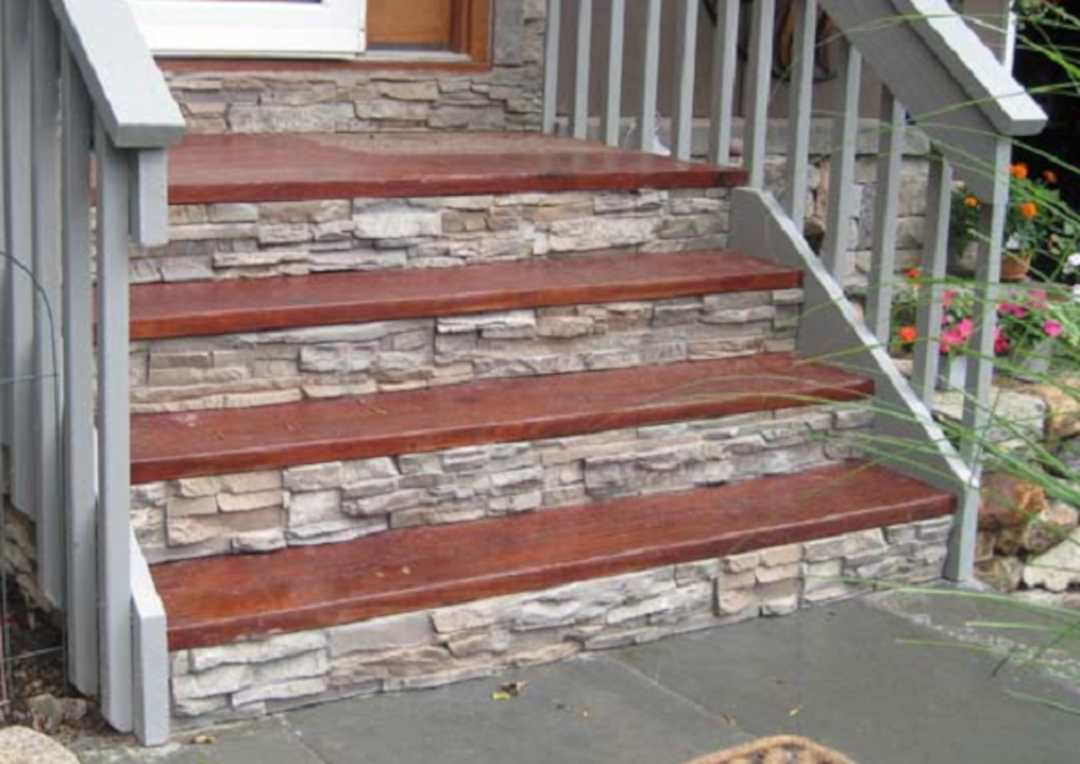
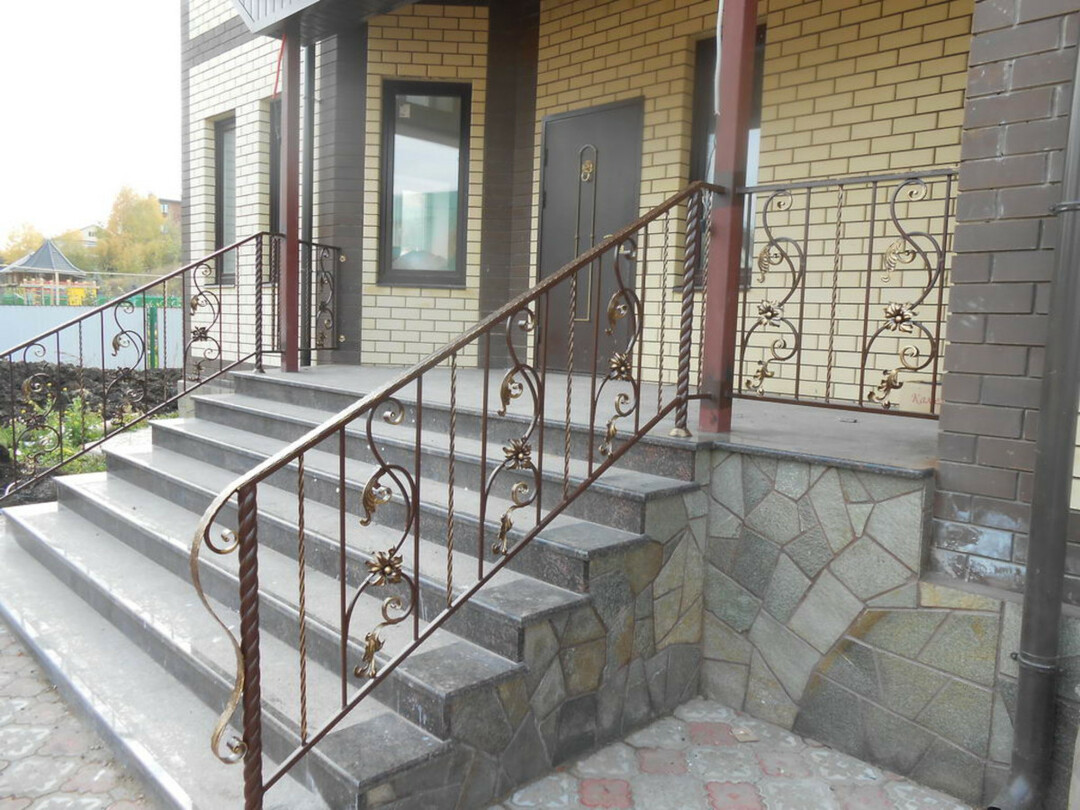
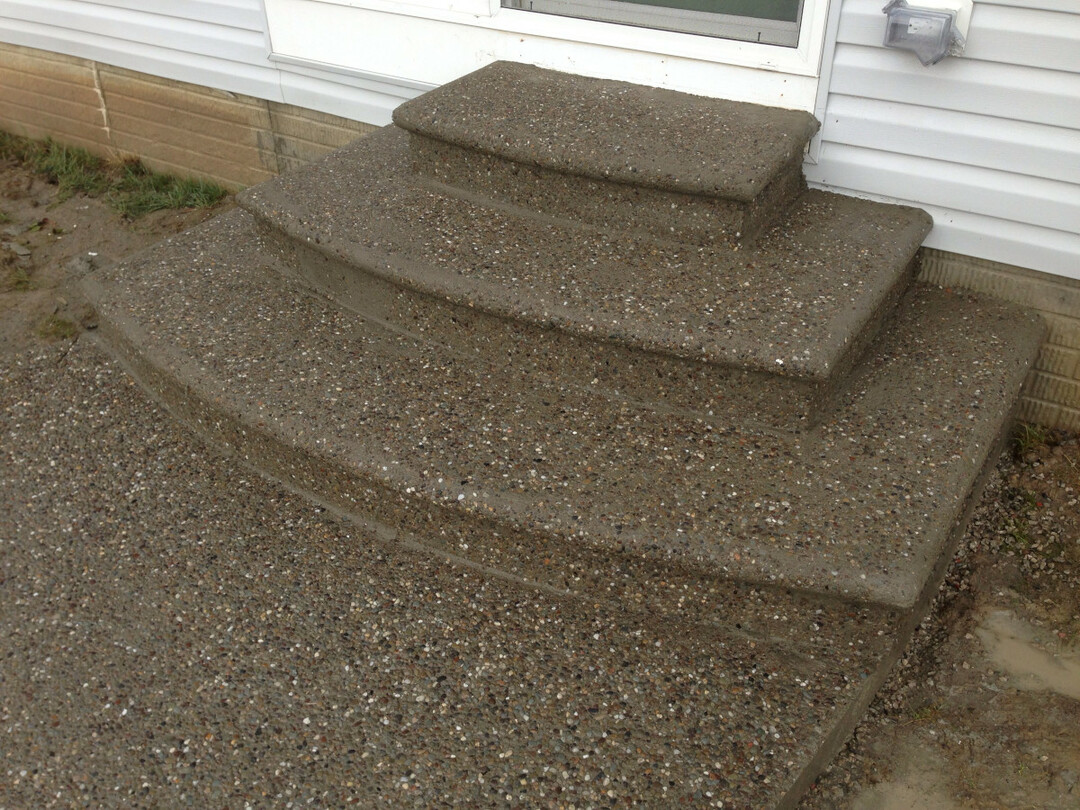
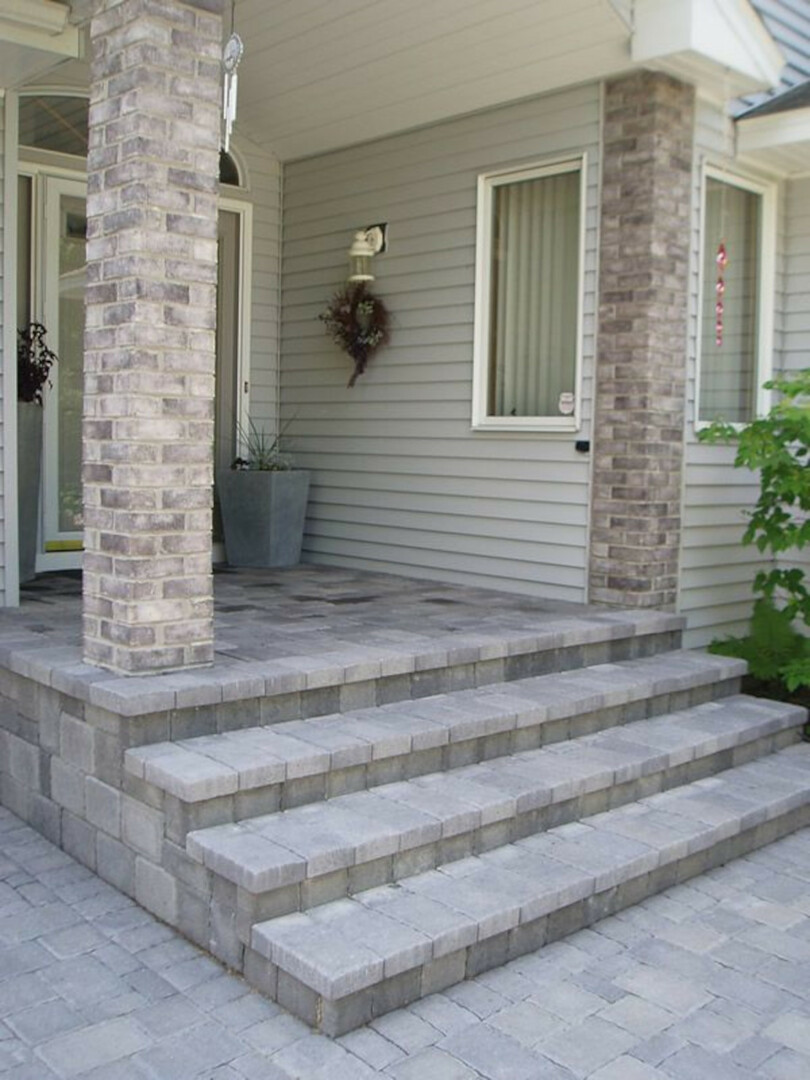
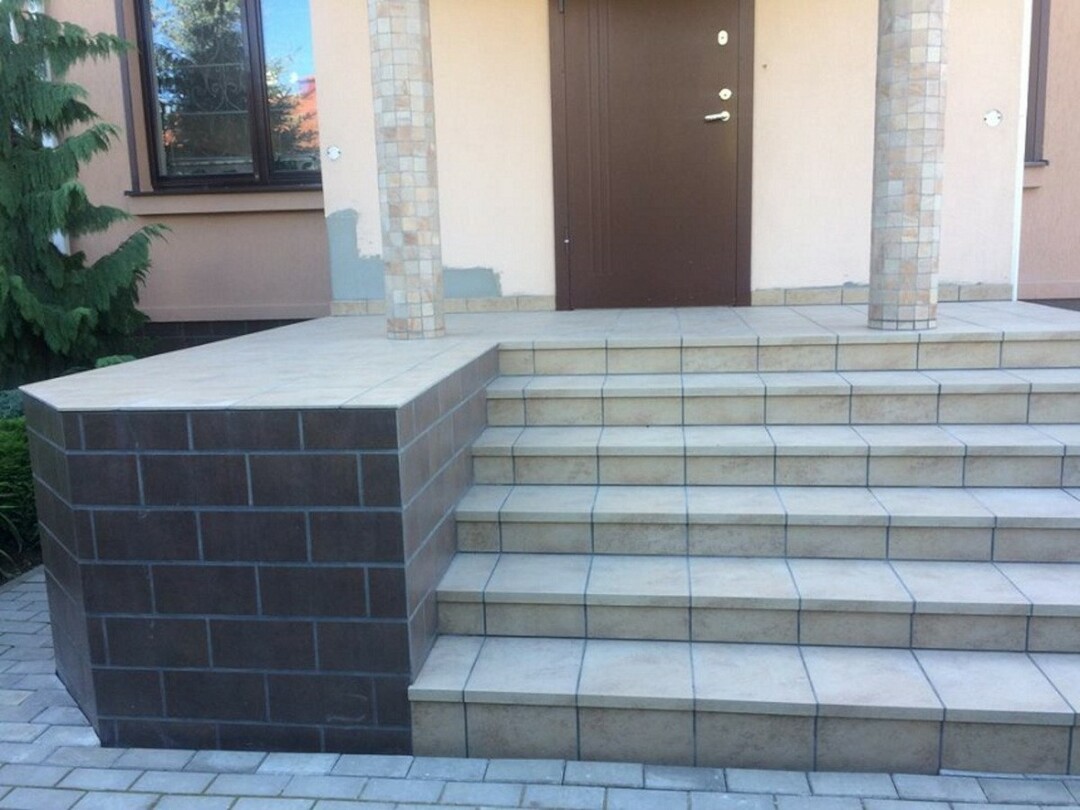
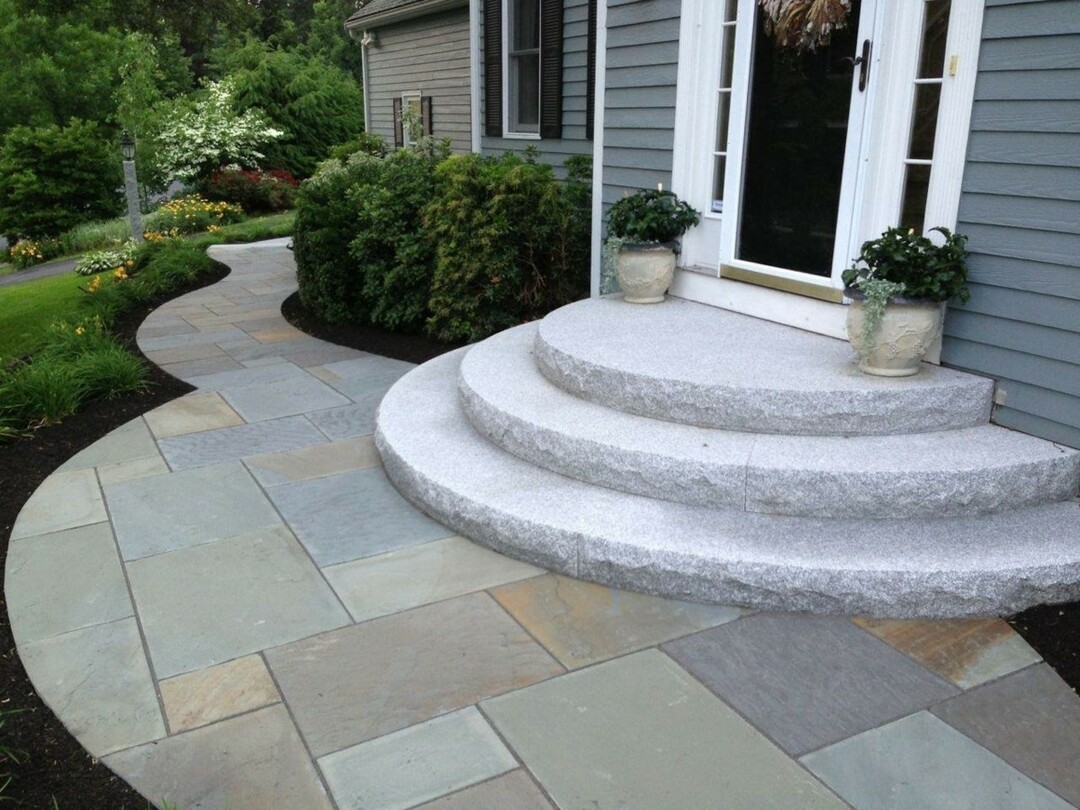
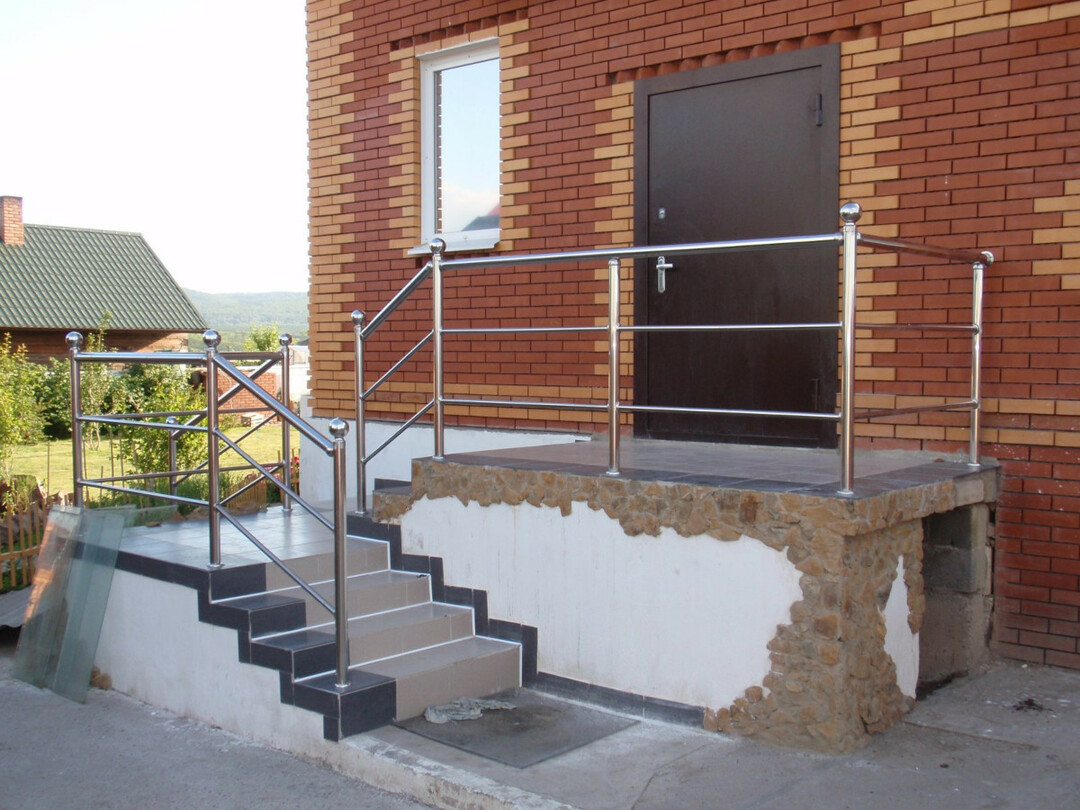
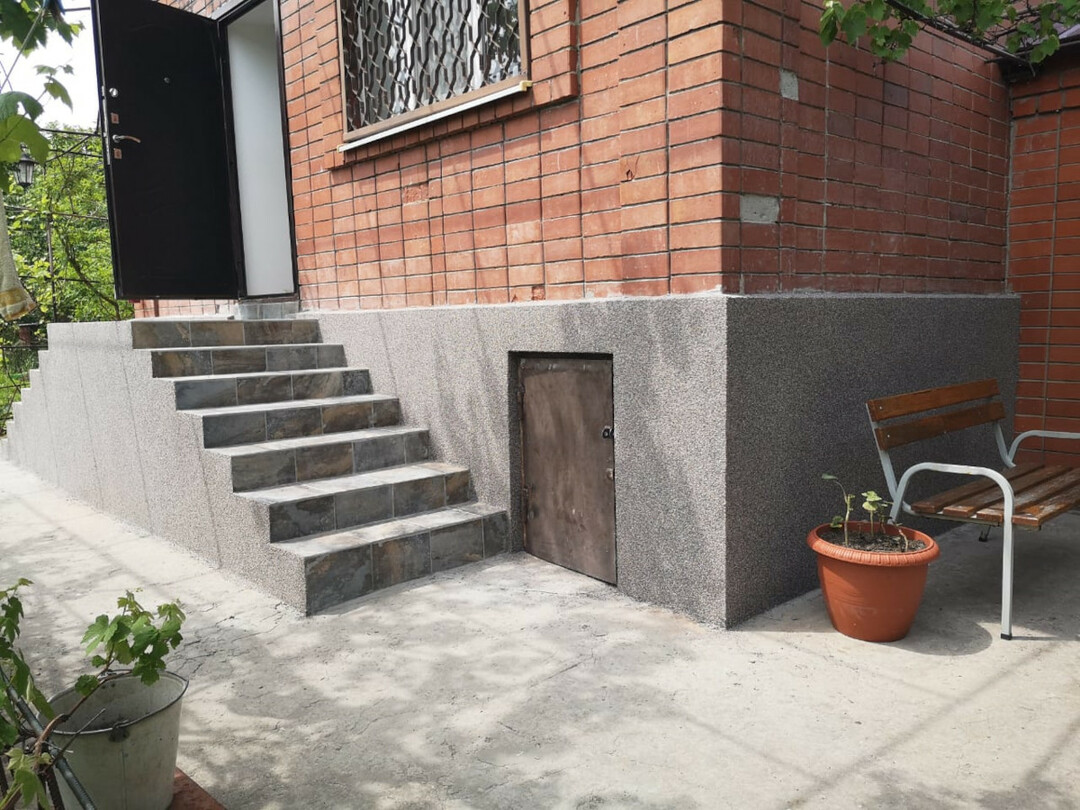
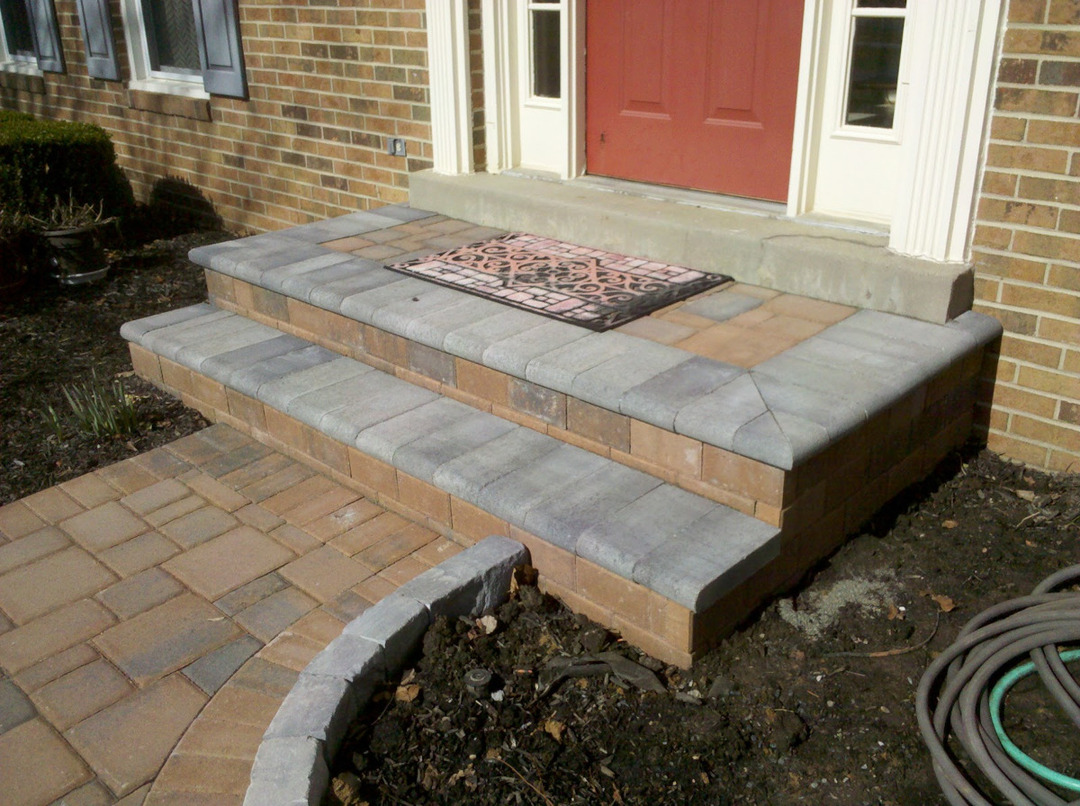
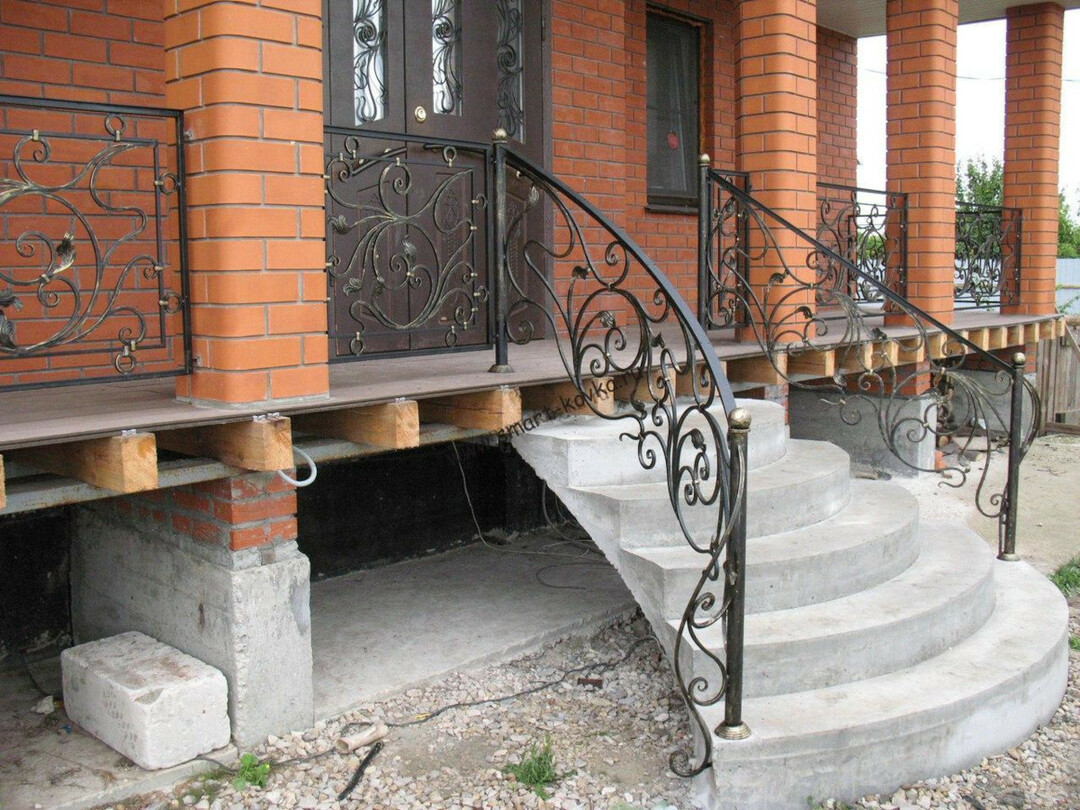
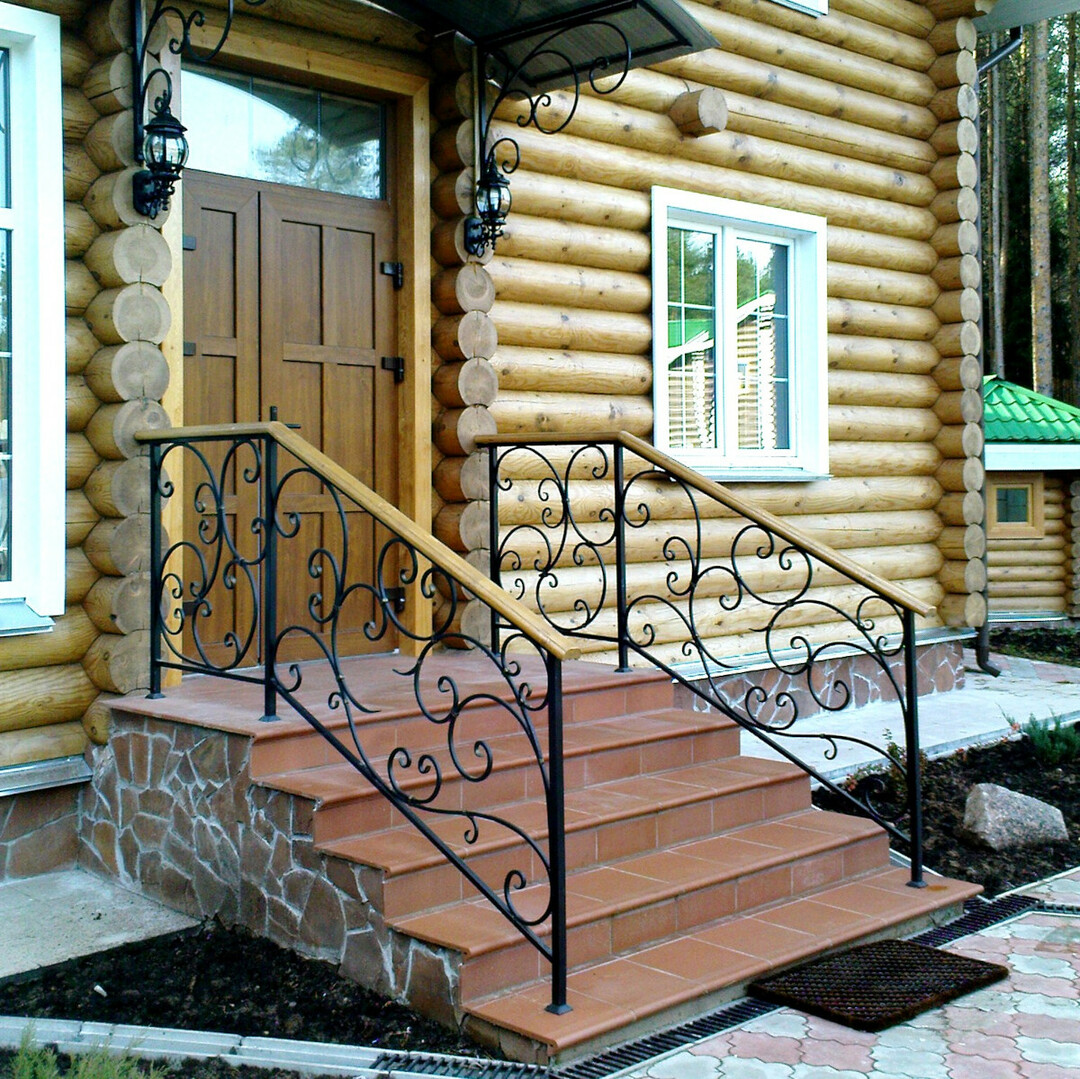
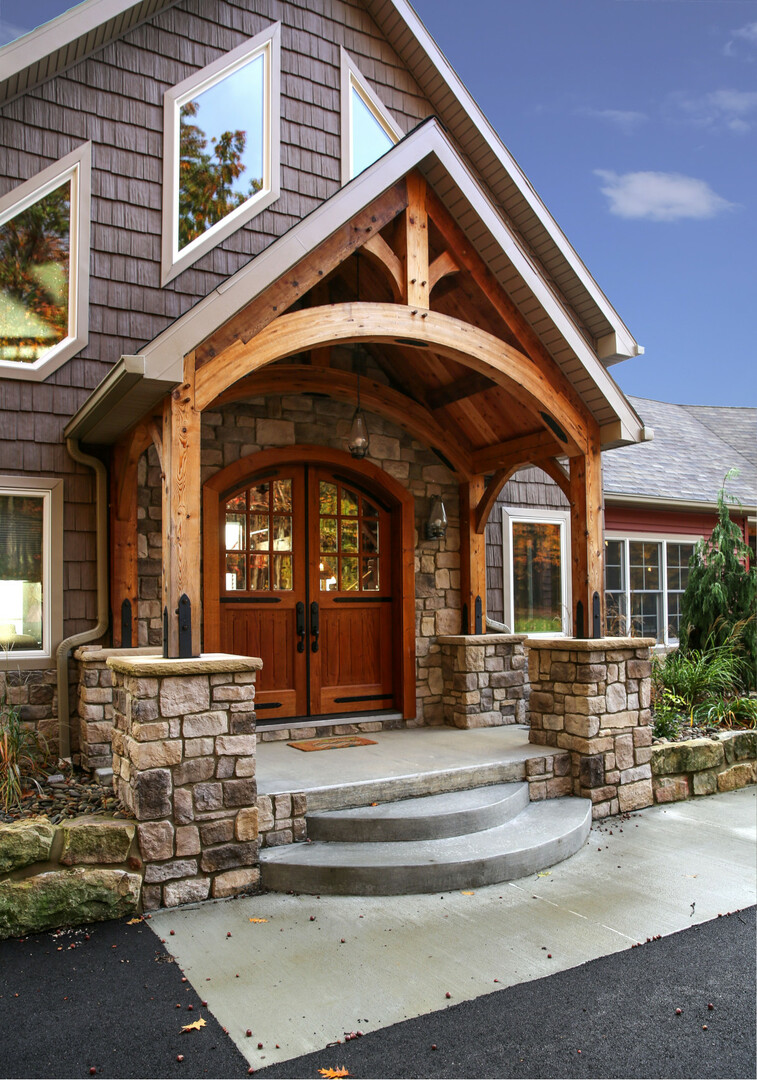
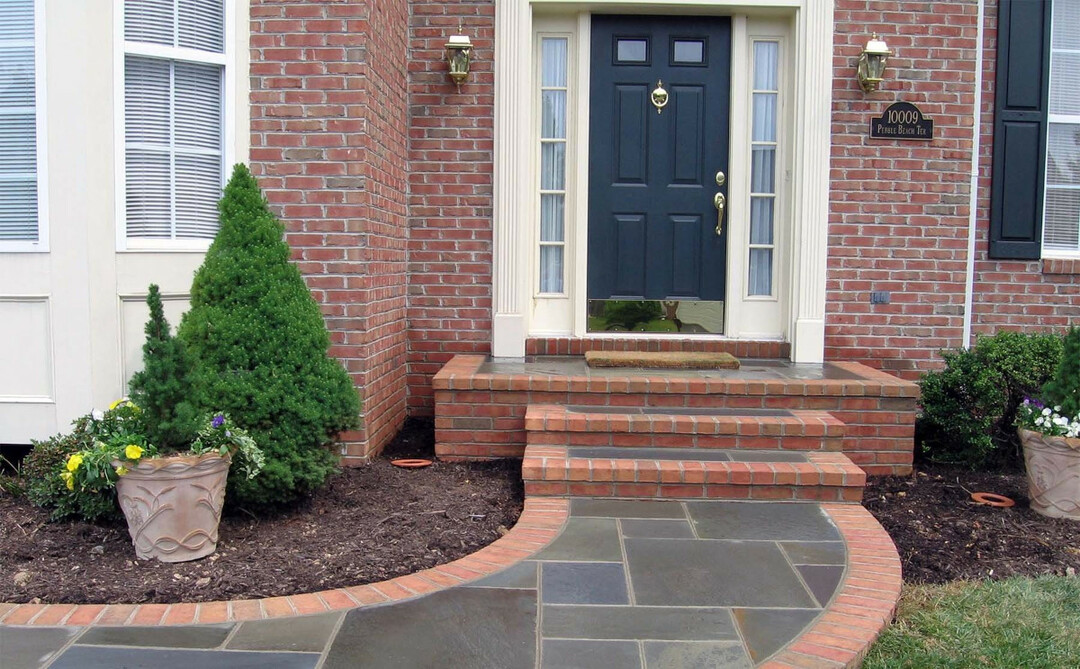
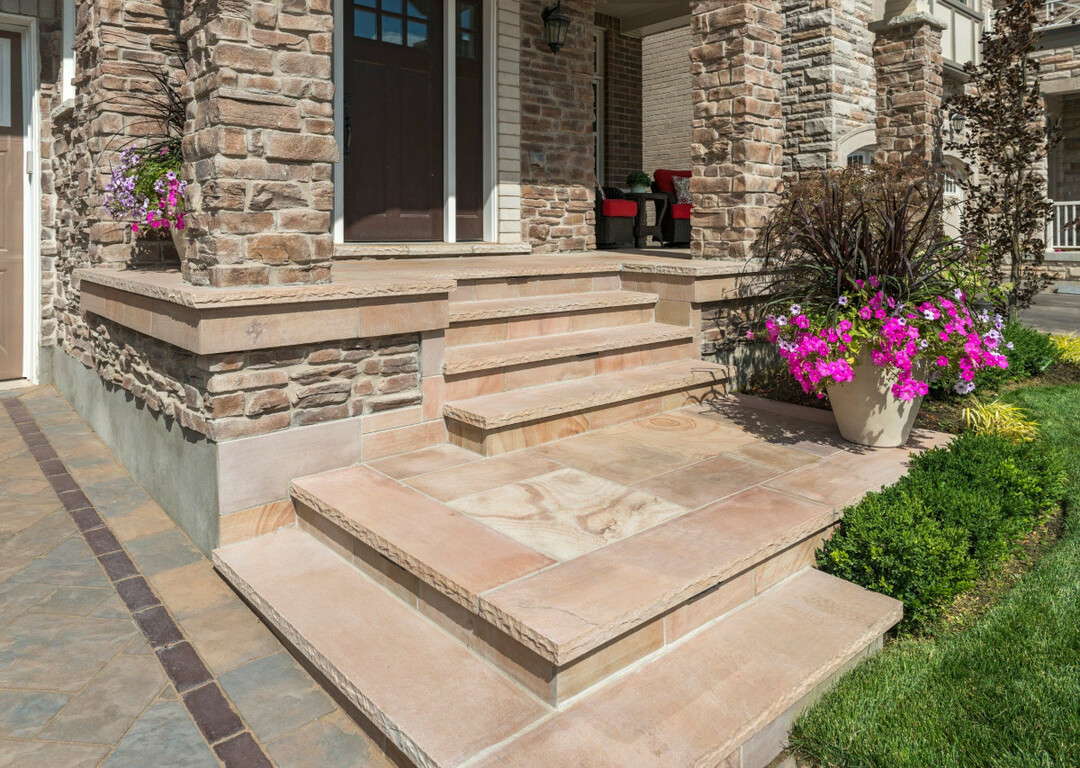
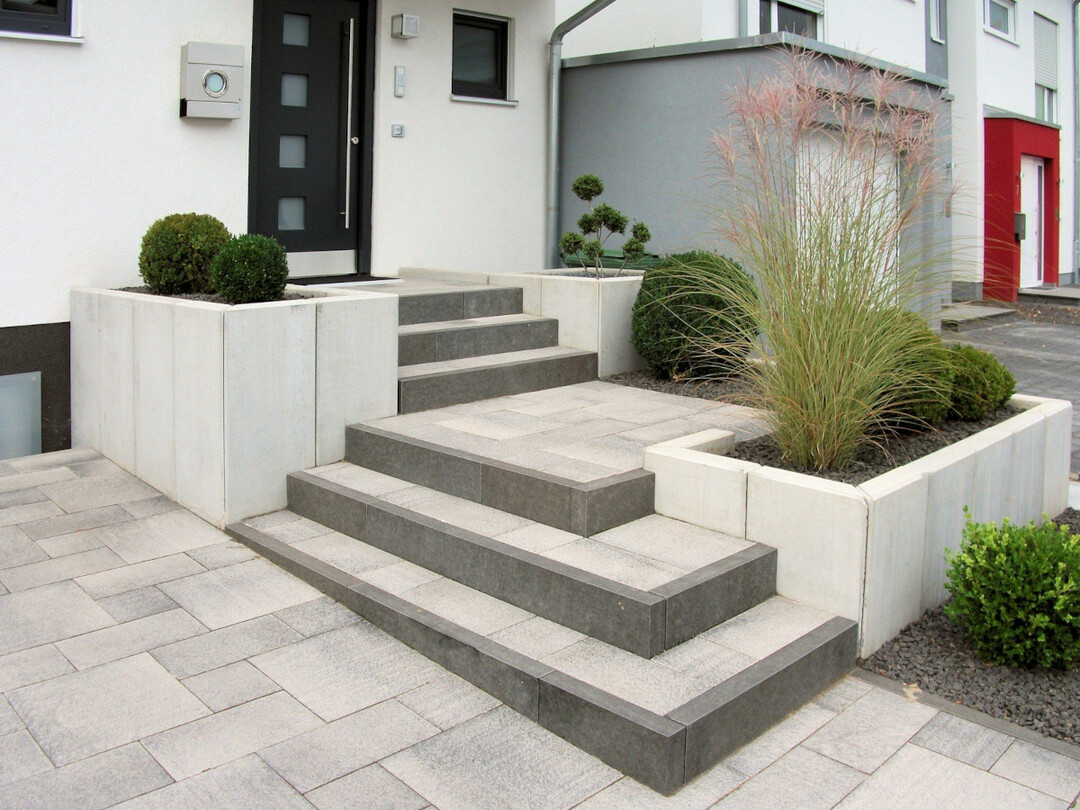
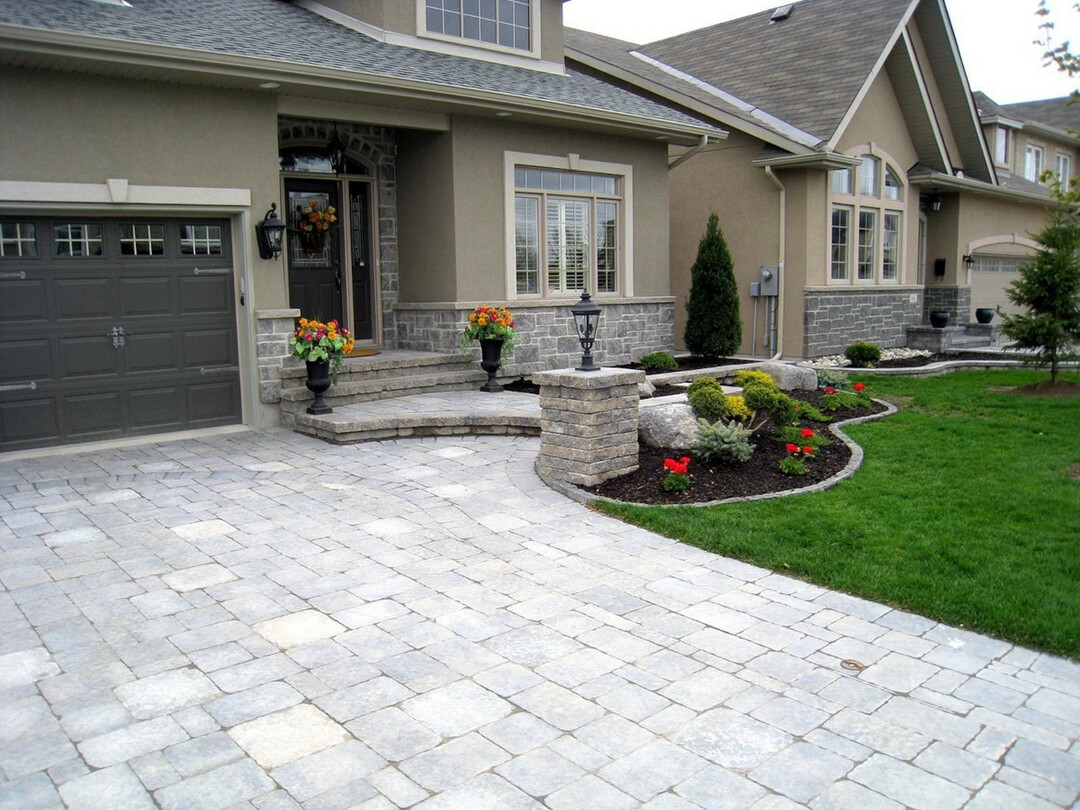
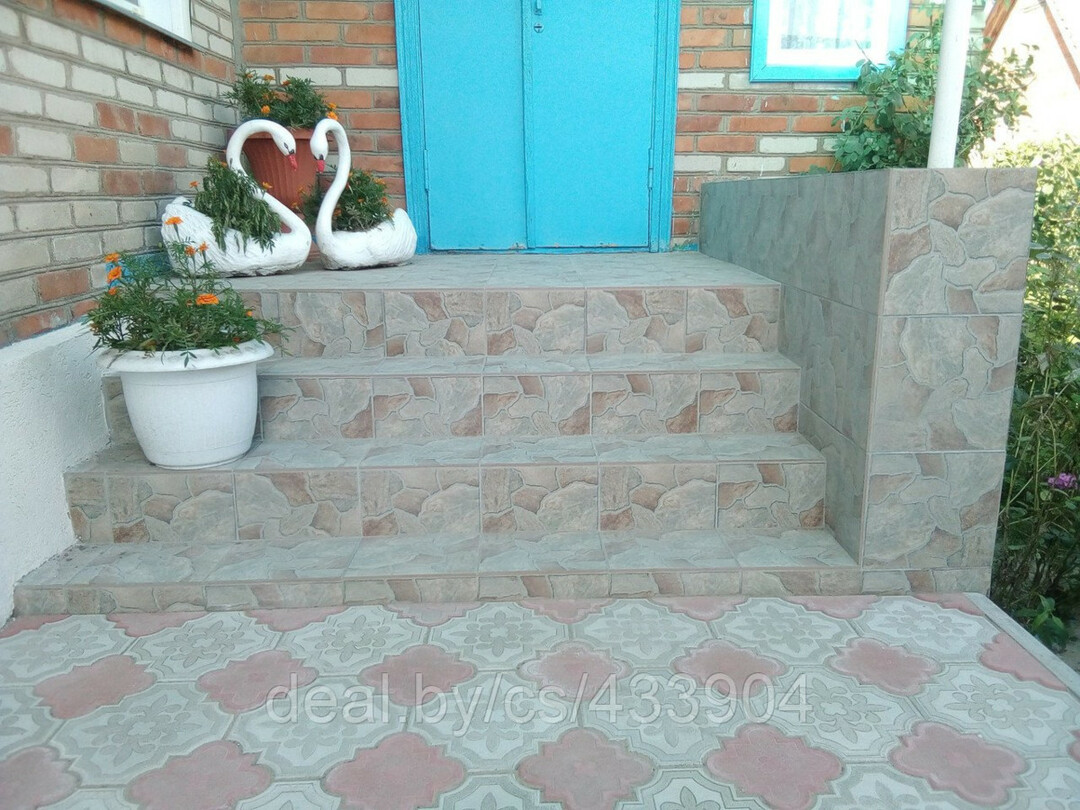
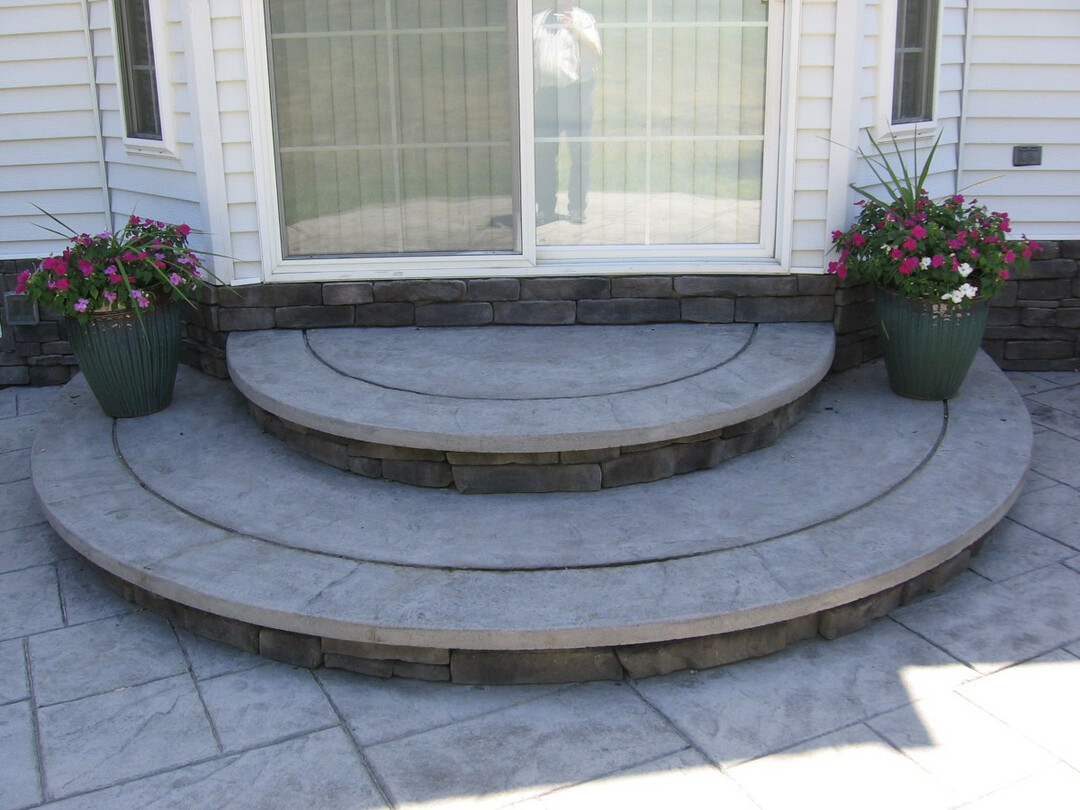
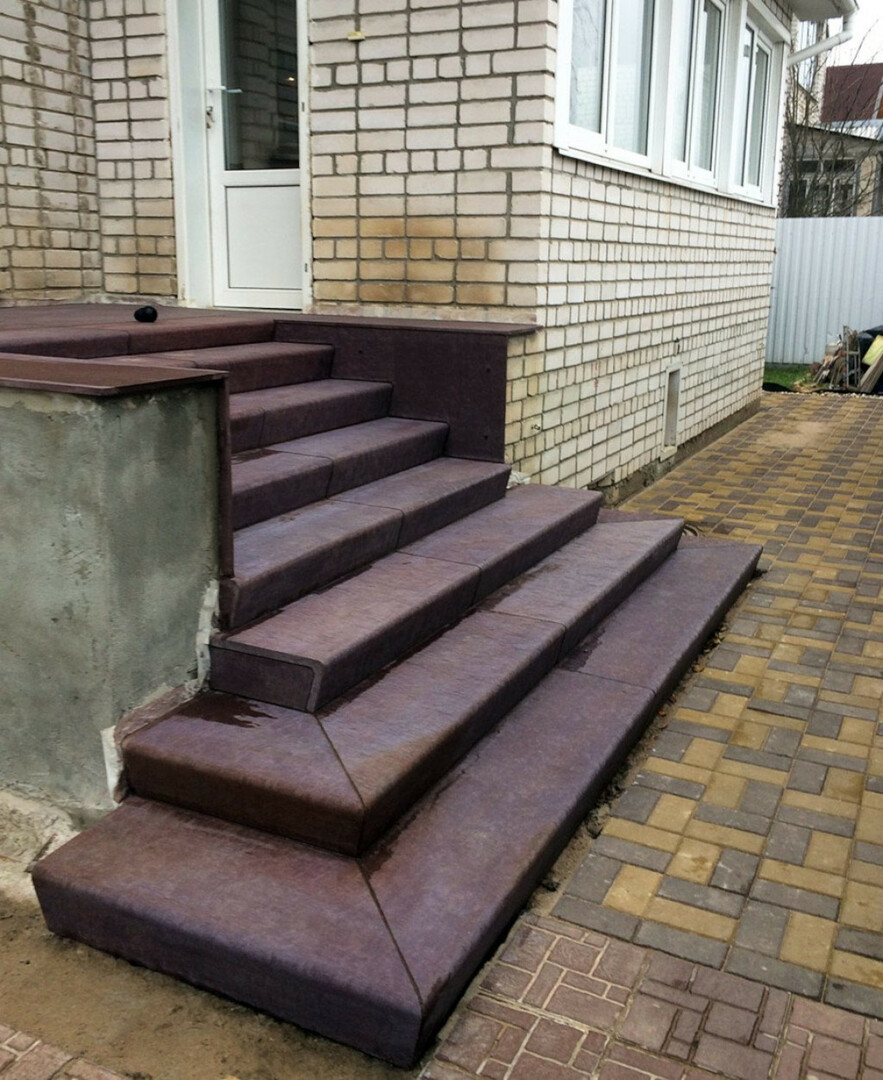
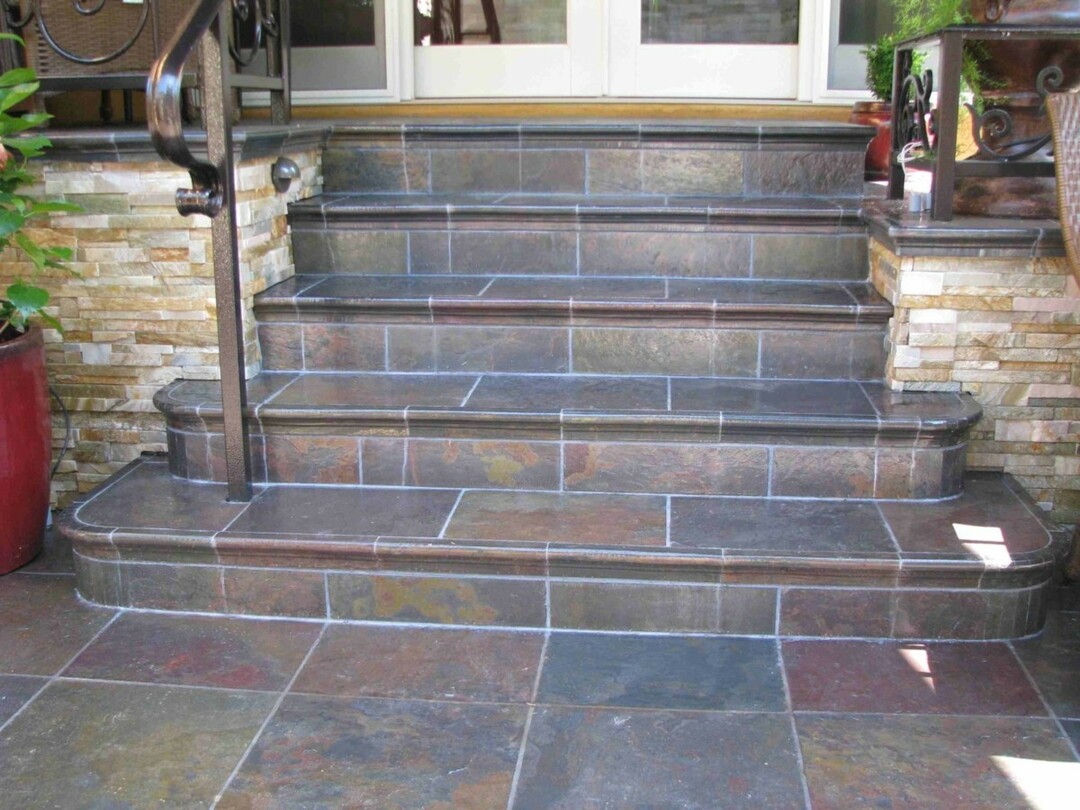
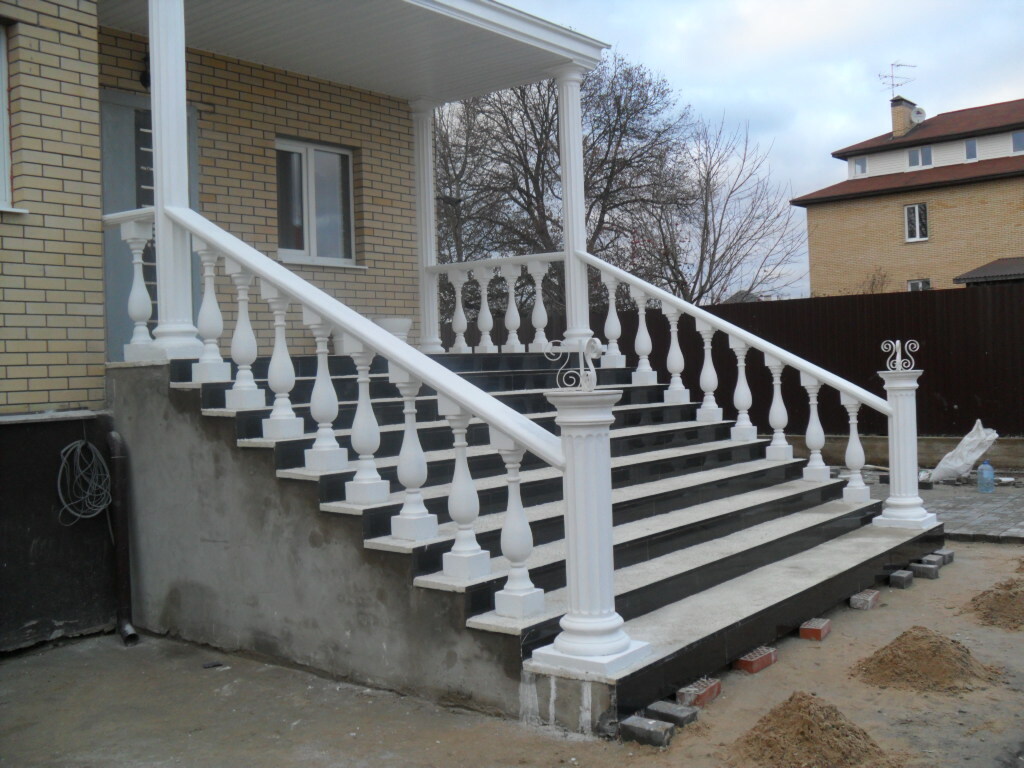
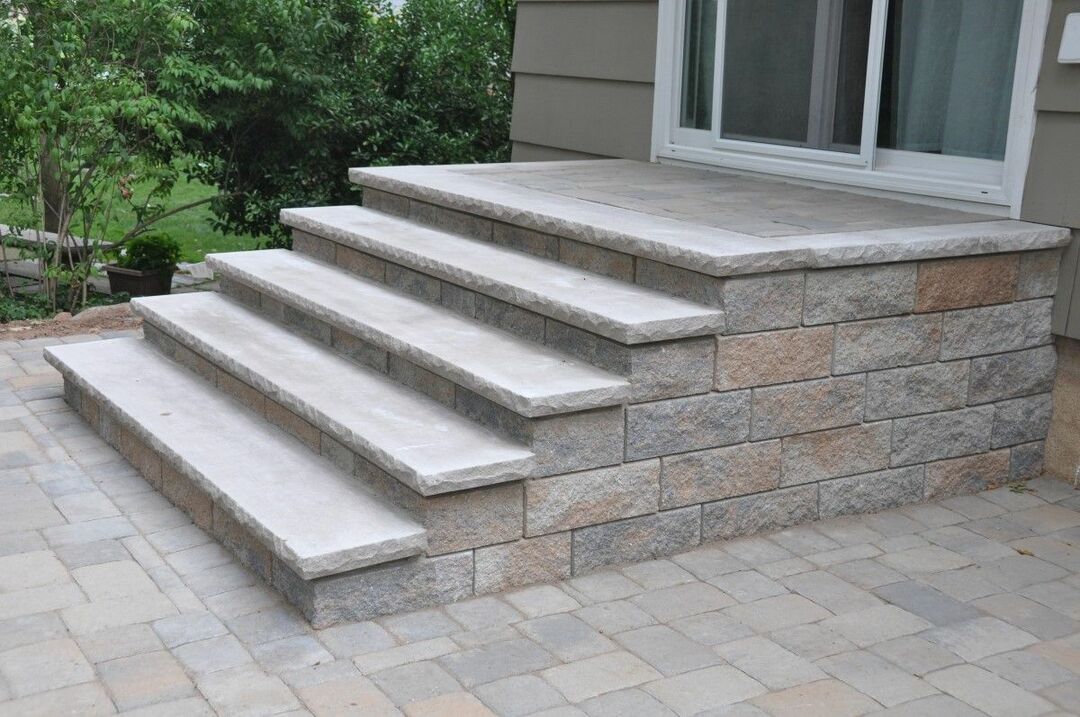
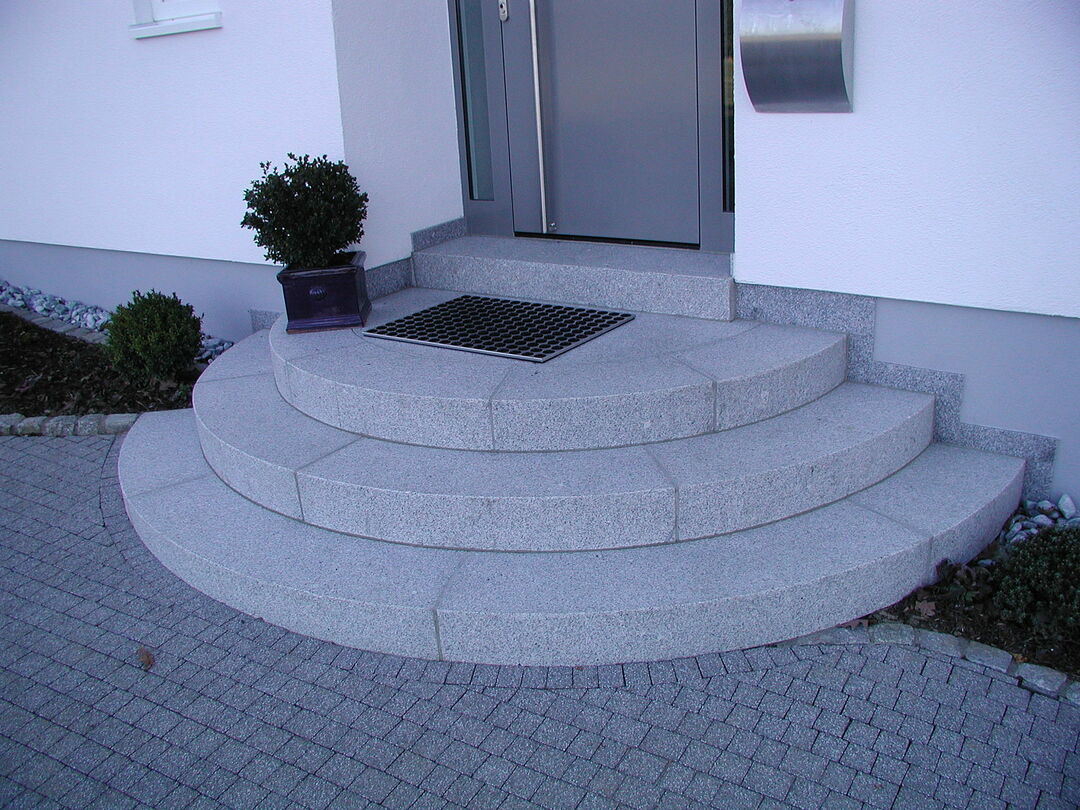
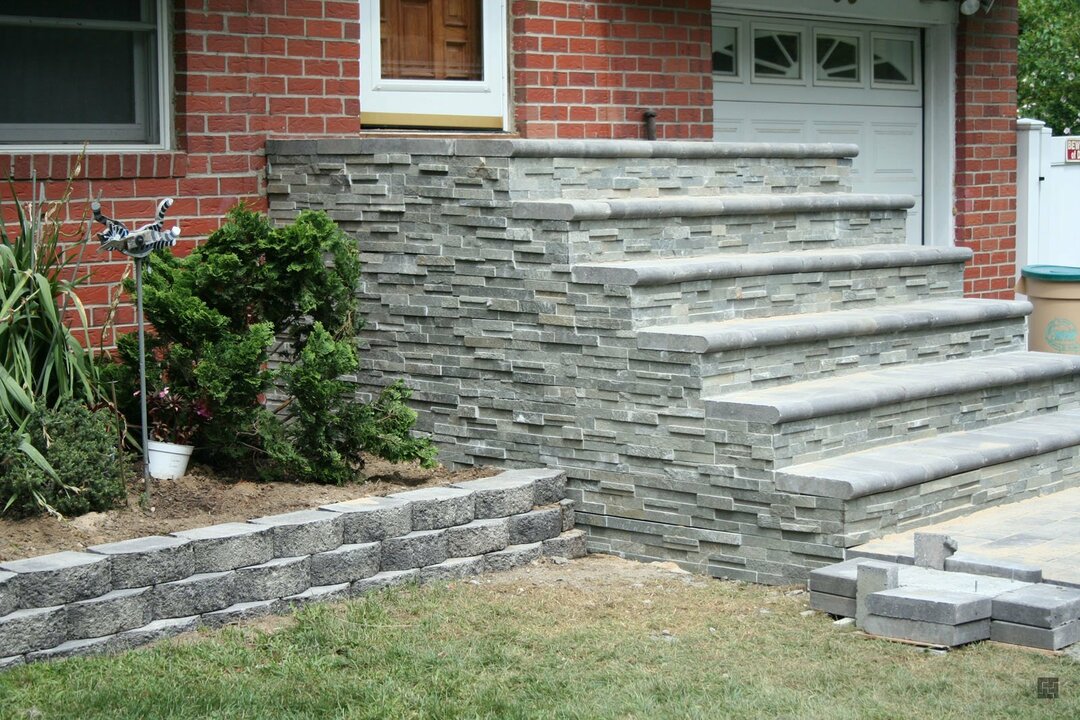
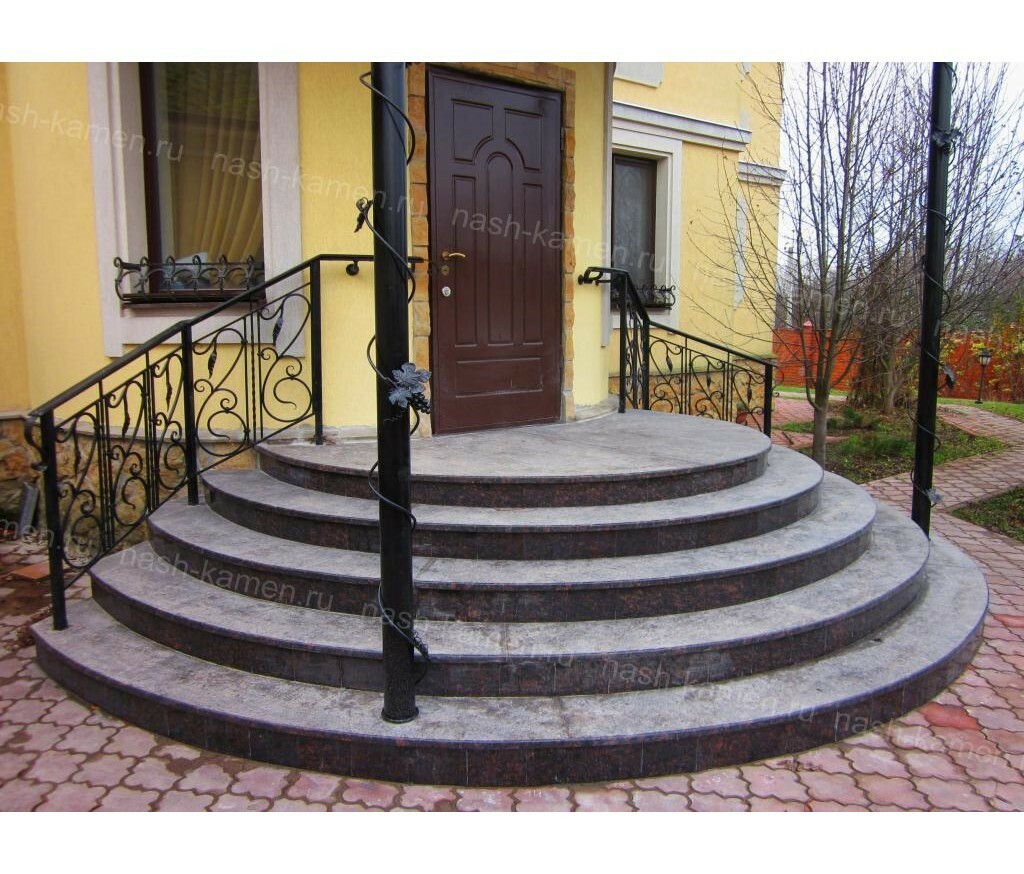
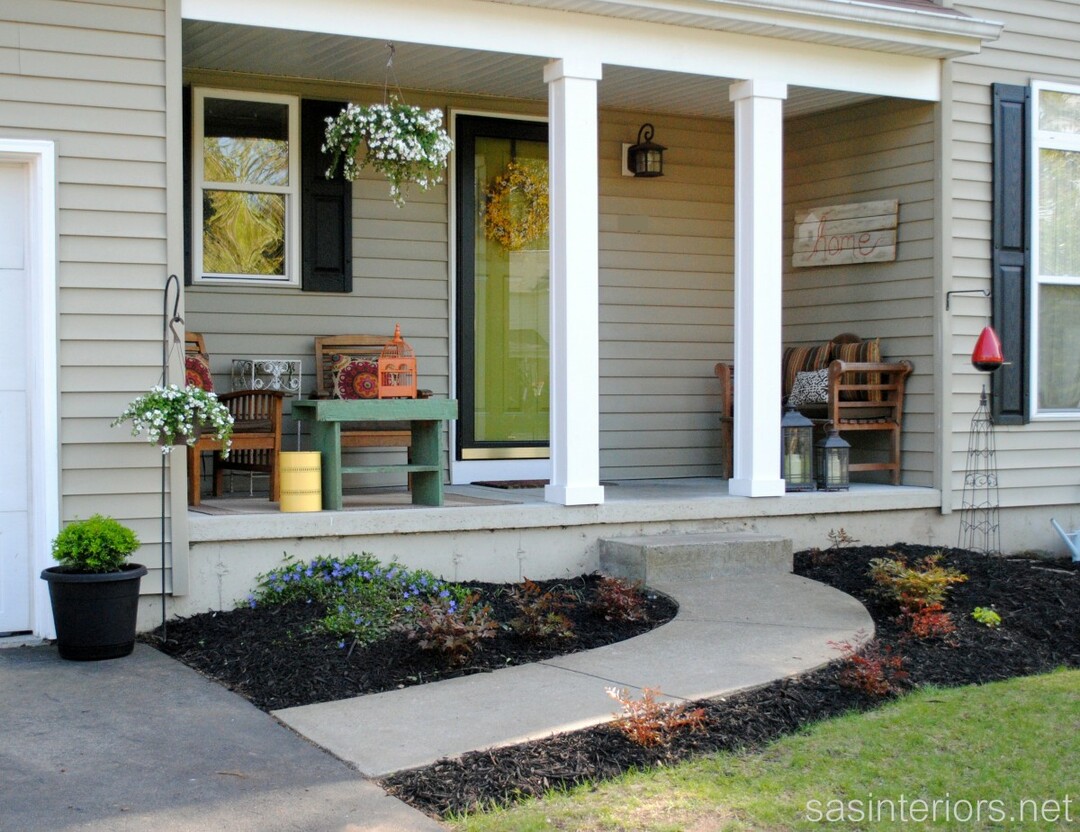
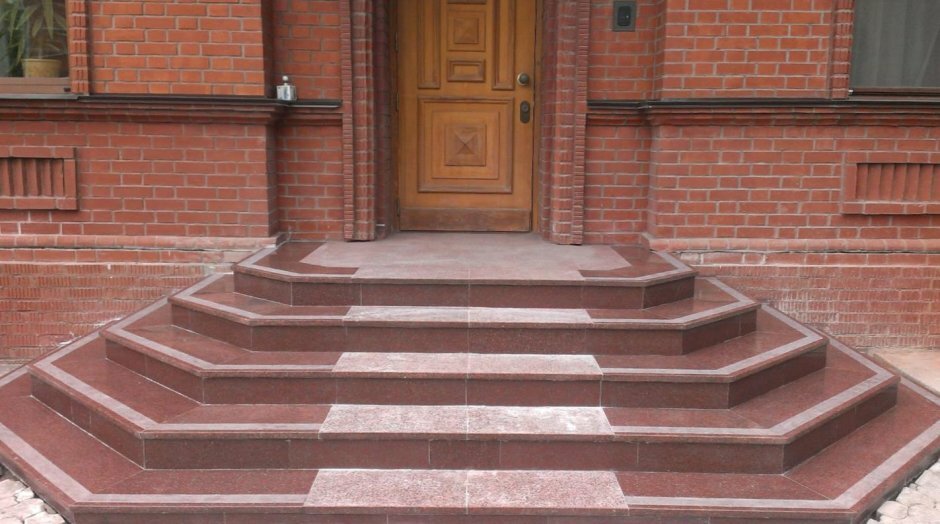
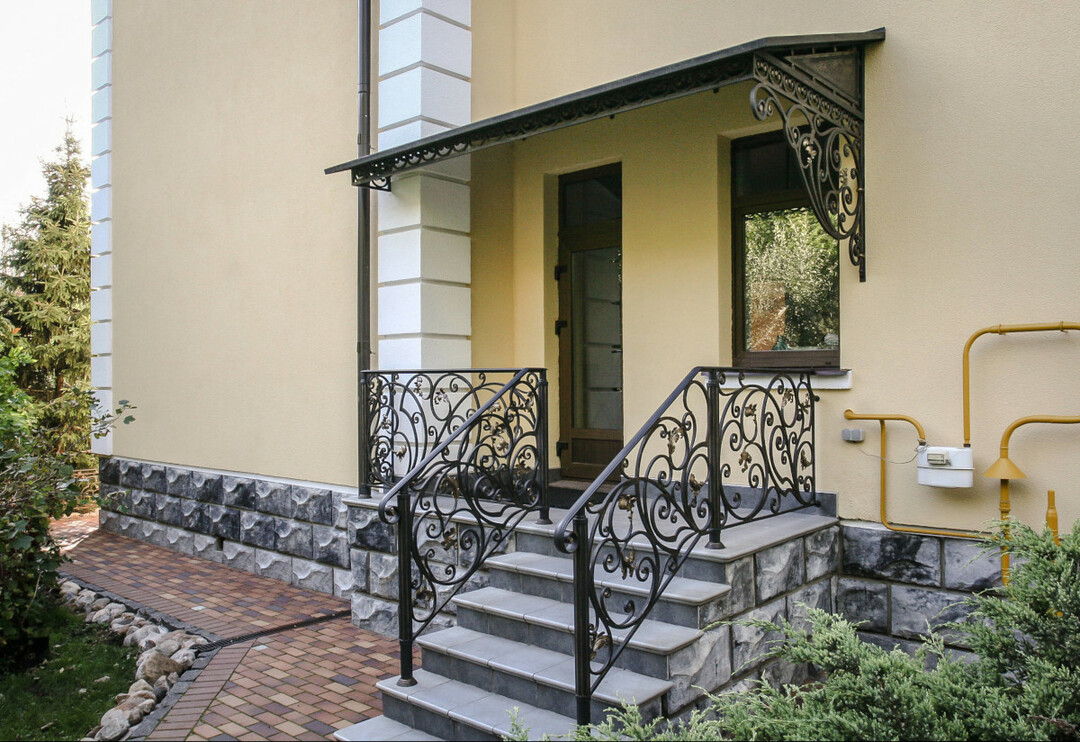
Photo of finishing a concrete porch in a private house
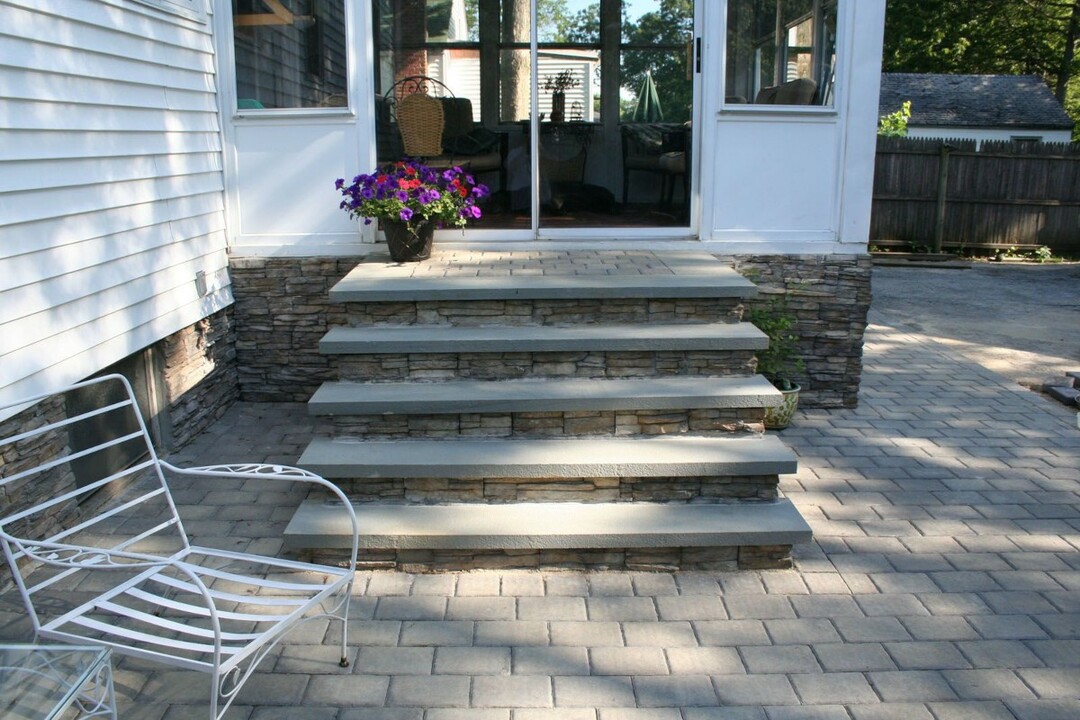
Here you can see photographs of ready-made concrete porches for private buildings. We offer you to see what such structures look like with different dimensions and configurations.


CREATOR: gd-jpeg v1.0 (using IJG JPEG v62), quality = 85


We received brief instructions on how to pour a concrete porch. It can be useful to anyone who is building a private residential building and would like to independently build a porch for it.


