- Options for skirting boards
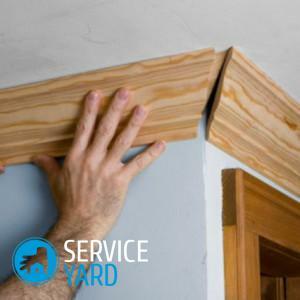
- How to glue the skirting board on the ceiling?
- How to glue the plinth?
- Features of gluing the plinth on the suspended ceiling
How to glue the ceiling skirting board?- This question is quite popular on the Internet. Very often professional builders in order to raise their skills and raise the cost of services may slightly exaggerate the difficulty of sticking a plinth on the ceiling. In fact, there is nothing easier than finishing the ceiling with the help of baguettes, so you can do this work yourself. In our article, we will tell you in detail how to properly glue the ceiling skirting in the corners, calculate the number of plinths, and cut corners on fillets.
to the contents ↑Options for skirting boards
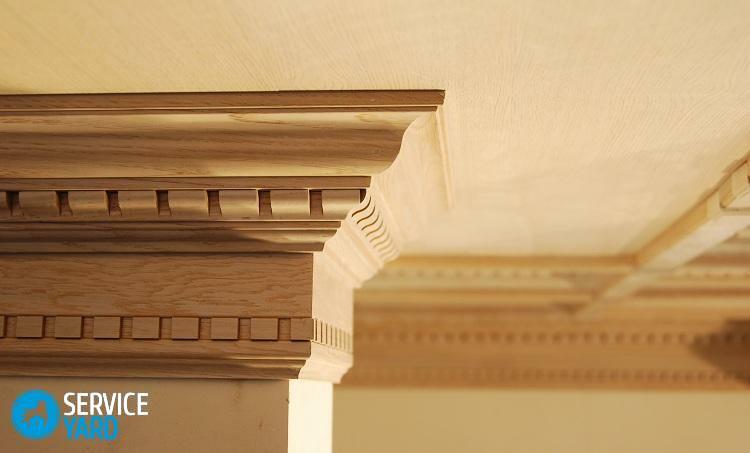
Ceiling moldings - simple, but in turn, very convenient and practical way to give the interior an exquisite and complete look. Fillet, as they are called in a professional environment, help to hide the gaps between the wallpaper and the ceiling, and are also used as a decorative element, which emphasizes the special style of the room. Manufacturers of finishing materials produce this product of several types, each of them has its own consumer demand. Consider the most popular of them.
Polyurethane skirting boards:
- The most popular and practical finishing materials in the installation.
- The fillets are very durable and light.
- Polyurethane products are not afraid of moisture, so they can be installed in bathrooms and other rooms with high humidity.
- Elastic material allows you to decorate walls of almost any complexity.
Plinth made of expanded polystyrene:
- Skirting board of this type, like the previous one, is light, elastic and moisture resistant.
- Has an additional property of sound insulation.
- The drawback of such a material is that, with prolonged exposure to artificial light, the product may lose its original color over time.
- Skirting boards are not particularly strong, so care must be taken when working with it.
PVC skirting boards:
- The cheapest option for finishing works.
- A huge range of colors allows you to choose products based on the design of the room.
Important! For the design of a room with a poor hood or moisture, PVC skirting boards do not fit.
- The disadvantage of PVC products is weak strength and elasticity. With a slight mechanical impact on the surface of dents, which largely spoils the appearance of the finish.
- PVC products can not be painted, otherwise - the frieze can be deformed.
Important! If you decide to glue the fillets yourself, we recommend you to choose from polyurethane products, because the material is light, characterized by a long service life, and also has an affordable price.
to the contents ↑How to glue the plinth to the ceiling?
If you have leveled the ceiling, covered it with paint and are going to glue the walls with wallpaper, then first think over the way they are edged. If you trim the ceiling and walls were decided with fillets, then it is desirable to hang the wallpaper last.
Important! Glued to the wallpaper ceiling skirting keeps on the wall is much worse.
As a rule, the ceiling is repainted much less often than the wallpaper in the room change. Thus, when changing the wall covering, the skirting board, pasted before the pasting, does not have to be changed.
How to calculate the number of skirting boards?
Want to know how to glue the ceiling skirting in the corners? The first stage of such work will be not even the purchase, but the calculation of the necessary amount of material, so first we'll talk about it.
Before going to the store to buy, we recommend that at home in a quiet environment calculate the required number of fillets. If you glued the wallpaper yourself, then this calculation will not cause any difficulties:
- The perimeter of your room - this is the required length of the skirting board.
Important! To ensure that there are as few joints as possible on the surface, choose products with a length of at least 2 m.
- Then the perimeter of the room is divided into the length of one skirting board, and this is 2 m, as a result - we get a figure that indicates the number of necessary baguettes.
Important! In most cases, the number is not an integer, so round it to a higher value.
- Even if the number is even in the calculation, get a skirting board more for one two-meter unit.
Important! An additional strip of fillet can come in handy in case of an uneven cut or dent.
Buying a skirting board
Before gluing the ceiling skirting in the corners, carefully inspect it for defects:
- Very often in large shops, fillets are scratched and dents are formed on the surface.
- Make sure that all fillet strips are the same in length and width.
Important! Sometimes the goods from different lots have an unequal width, as a result of which it will not be possible to cut corners in the same way during installation.
- Buy a tool with which you will glue them on the wall. Often, for these purposes, use "liquid nails" or special glue. You can buy another type of adhesive, the main task - that he quickly sokh.
Important! In a room with high ceilings, wide products harmoniously look - they visually reduce the height of the ceiling. Rooms with low ceilings trim a narrow skirting board.
- Pre-take care of the availability of all necessary tools, if something is missing, buy it in the store.
Important! Be sure to purchase a chair and a white sealant. With the help of them you have perfectly smooth angles without gaps and gaps.
Getting Started:
- First of all, just before you glue the corners of the ceiling skirting, thoroughly wash your hands and working tool.
Important! Snow-white skirting is very easy to stain. In some cases, traces are almost impossible to hide under a layer of paint.
- Masters who carry out repairs in the premises, recommend the gluing of the plinth starting from one of the corners. Thus, there will be fewer cuttings along the perimeter.
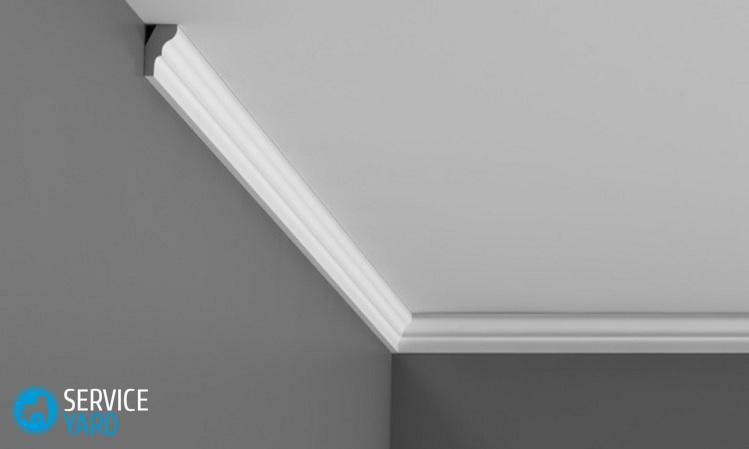
- If the ceiling skirting is the first time you glue, practice on the spare stick cut the angle of 45 degrees.
Important! Take advantage of a stool. Do not be discouraged if the result is not positive the first time, repeat the process several times.
- To correctly determine the slope of the angle, attach the plinth to the ceiling, and you will see how to cut the angle correctly.
Important! Freese slaughtered in a mirror image. To trim the inner corner, the top edge should be shorter with respect to the bottom, for the outside corner - on the contrary.
- Accelerating finishing work can be pre-prepared templates with external and internal corners.
How to glue the plinth?
So, all the preparatory work is finished, it's time to start filing the fillets. Next, we will tell you in detail the sequence of actions, so you will not spoil previous repairs.
Sequence of work:
- The adhesive must be applied to the surface of the ceiling and the walls with one continuous strip.
- Next, the glue is applied to the surface of the baguette.
Important! The baguette, processed with glue, put aside, so the grip with the wall will be much stronger.
- Attach the fillet into a corner, evenly over the entire surface, press against the wall.
- Hold it for about 1 minute - this time, as a rule, is enough to allow the glue to seize.
- Prepare rags in advance to eliminate excess glue.
- Next, stick a strip that goes to the corner on the other side.
Important! We recommend that you initially glue all the corners in the room, then it will be much easier for you to make the markup and fill the remaining spaces between them.
- In case the walls are not too smooth, you will need a plaster tape. When it is used, the skirting boards will not be peeled off from the walls, and after its application there will be no traces on the surface.
- Once the entire perimeter is filled with a ceiling skirting, seal the slots with a white sealant.
Important! For better penetration, use a skeletal gun - this will squeeze out an even and thin line.
- Next, slide your wet finger on the surface, as if pushing it inside.
As a result of the work done, the ceiling and the glued baguette will have a perfect look.
to the contents ↑Features of gluing the plinth on the suspended ceiling
If you decide to experiment in the design of the room and combine the stretch ceiling and ceiling skirting, then you need to take into account some of the nuances of this duet:
- Because the material from which stretch ceilings are made is a synthetic film,fillet on it is impossible in principle.
Important! When applying glue to the surface of the material it is not known how it behaves, at best - the film simply deforms, at worst - it can dissolve.
- To all stretch ceilings have no rigidity, so slight fluctuations when pressed can damage the adhesive seam of the ceiling and plinth.
- But there is a proven way to glue the ceiling skirting from the foam in the corners of the stretch ceiling. In this case, the gluing of the baguette is not necessary on the material of the ceiling, but directly on the wall.
Important! In building shops there is a kind of plinth with a larger lower part.
- In the process of finishing it is necessary to leave a small gap between the ceiling and fillets.
Important! If you want, you can increase the gap, in this case you can put in the LED strip, which will give the room even more originality. It does not heat up, respectively - it does not damage the material of the stretch ceiling.
There are no minor jobs in the process of repair, especially for finishing. Any irregularities and flaws can spoil the general view of the repair, because the finishing elements are in sight and should be mounted perfectly. Useful recommendations from the article on how to glue the plinths in the corners, as well as detailed instructions for the sequence of wall decoration with baguettes, will allow you to get an excellent result from the work done, which will make the interior of your room beautiful and cozy.